Baby Proofing for New Parents: Where to Start When You're Overwhelmed

The list of things you should do before your baby arrives is long enough to be paralyzing. Install gates. Lock cabinets. Anchor furniture. Replace the blinds. Lower the crib mattress. And that’s before you’ve even thought about the bathroom. If you’ve stared at that list and closed the tab, you’re not failing at parenting. You’re overwhelmed, which is a reasonable response to a large task.
Here’s the thing: you don’t have to do it all at once. You have to do the right things first.
This guide is built around that idea. Start with the highest-risk zones. Tackle one room at a time. Build from there. By the time you’re done reading, you’ll have a clear sequence, not a longer to-do list.
The Three Zones That Matter Most Right Now
Before you buy a single product or watch a single installation video, walk through your home and identify three areas: the kitchen, the bathroom, and the room where your baby sleeps. These are where the majority of preventable injuries in infants and toddlers happen. Concentrating your first effort here gives you the most protection per hour and per dollar spent.
Everything else, the living room, the garage, the guest bedroom, can wait a week or two. The kitchen, bathroom, and nursery cannot.
My younger daughter made this lesson concrete for me. I had the nursery locked down but hadn’t gotten to the bathroom yet. She was 11 months old when she pulled open the cabinet under the sink in the time it took me to answer the doorbell. I came back to find her sitting on the tile, surrounded by cleaning supplies. Nothing had opened. But it was close. That cabinet got a lock within the hour.
Safe Sleep Comes Before Everything Else
If your baby isn’t sleeping yet, skip ahead. But if they are, this is the single highest-priority item in the nursery.
The AAP states that the safest sleep environment is a firm, flat surface in a crib, bassinet, or play yard, with only a fitted sheet. That means no pillows, no blankets, no bumpers, and no stuffed animals in the sleep space. These items increase the risk of suffocation and are associated with sudden infant death syndrome. This one costs nothing. You’re removing things, not buying them. Do it today.
Once your baby can sit up independently, lower the crib mattress to its lowest setting. This is not optional. A baby who can pull to stand will attempt it in the crib, and a mattress that’s too high becomes a launch point for a fall onto a hard floor.
Furniture Tip-Overs and Fall Prevention
Dressers, bookshelves, and TV stands tip over. Every year, children are killed or seriously injured when unsecured furniture falls on them. The fix is inexpensive and takes about 20 minutes per piece: anti-tip brackets that anchor the furniture to a wall stud.
Do every dresser in the nursery first. Then work through the rest of the house. If you have a large flat-screen TV on a stand rather than wall-mounted, that stand needs to be anchored too.
Changing table falls are a separate category. The rule is simple: never leave a baby unattended on an elevated surface. Not for a second. Not to grab the wipes you left on the other side of the room. Strap your baby in if the table has a strap, and keep supplies within arm’s reach so you never have a reason to step away.


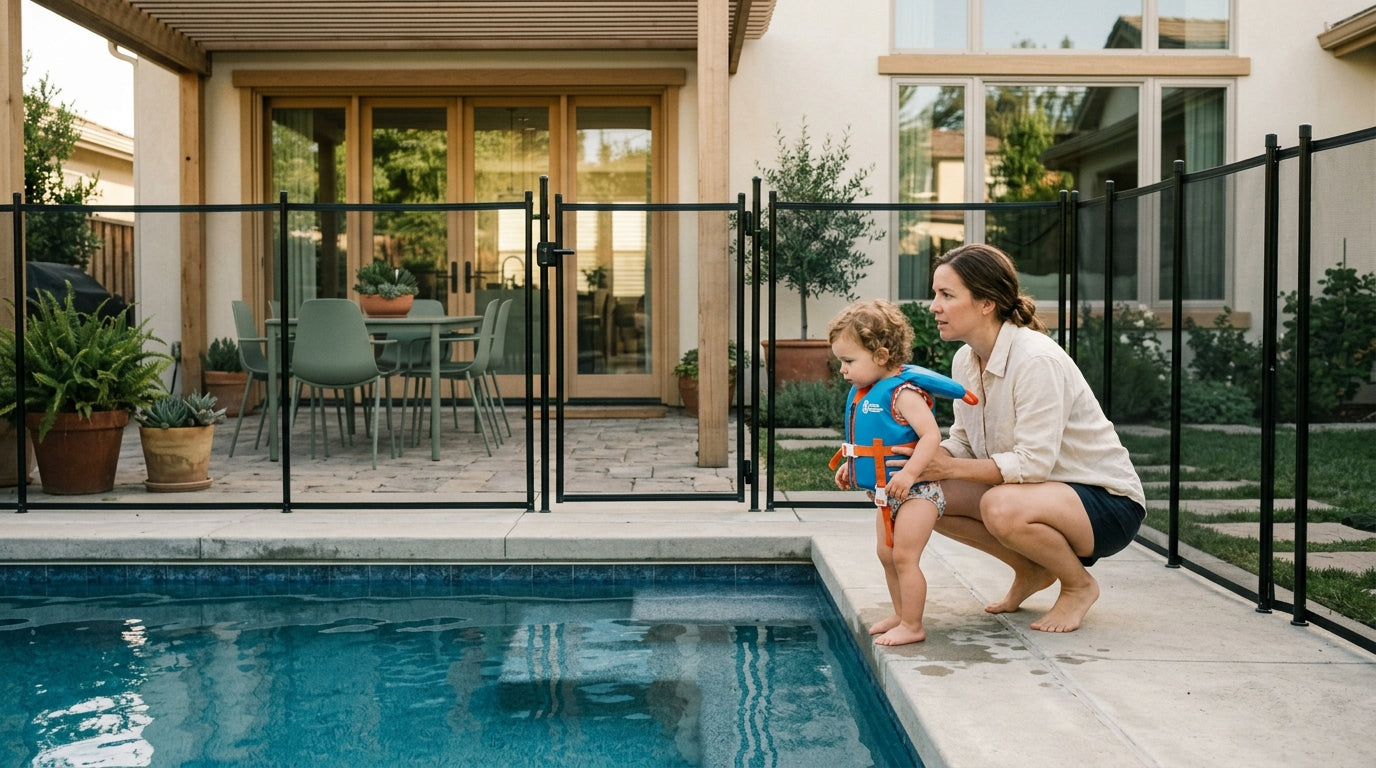
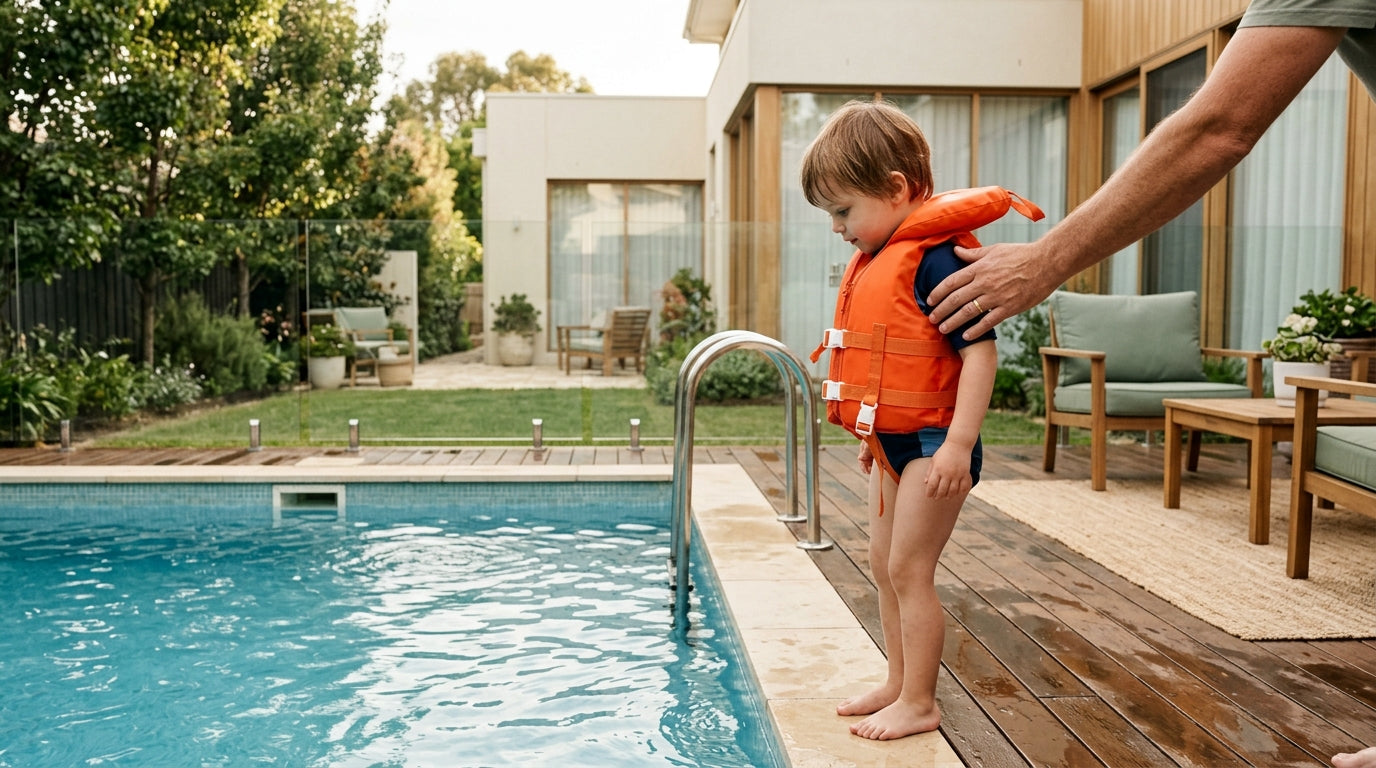
Drowning: The Risk That Doesn’t Look Like a Risk
Drowning is a leading cause of unintentional injury death for children ages 1–4, and it happens silently. There’s no splashing, no shouting. A baby can drown in a few inches of water.
Drain the bathtub immediately after every use. Install a toilet lock. Keep bathroom doors closed and consider a door handle cover that prevents a toddler from opening it independently. If you have a pet, be aware that a large dog’s water bowl holds enough water to be dangerous.
Never leave a baby alone near any standing water, including a bucket you filled to mop the floor. This sounds extreme until you understand how fast it can happen.
For bath time itself, keep one hand on your baby at all times. If the phone rings, let it ring.
The Hot Water Problem
Scalds from hot water cause severe burns, and they happen faster than most parents expect. Set your water heater to 120°F (49°C) or lower. At that temperature, a serious scald takes several minutes of contact. At 140°F (60°C), it takes seconds.
Test bathwater with your elbow before placing your baby in it. Your elbow is more sensitive to heat than your hand and gives you a more accurate read. The water should feel warm, not hot.
Keep hot beverages away from the edges of counters and tables. A pulled tablecloth or a grabbed mug can cause burns serious enough to require hospitalization.
Locking Cabinets: Start Under the Sink
Cabinet locks are one of the most common first purchases for new parents, and most people start with the kitchen drawers. That’s fine, but the higher priority is under the sink, in both the kitchen and the bathroom. That’s where cleaning products, drain openers, and other toxic substances live.
Medications deserve their own conversation. The bathroom medicine cabinet, the nightstand, the purse on the floor near the door: all of these are accessible to a curious crawler or toddler. Lock or relocate all medications, including vitamins and supplements, which can be toxic in quantity.
Once the under-sink cabinets are locked, work through lower kitchen drawers where knives or sharp tools are stored. Upper cabinets can wait.
Choking Hazards Are Hiding in Plain Sight
The standard test is the toilet paper tube: if an object fits inside it, it’s a choking hazard for children under 3. Walk through your home at floor level and look for small objects. Coins. Button batteries. Small toy parts. Pen caps. Hair ties.
Button batteries deserve specific attention. They’re flat, shiny, and appealing to babies. They’re also extremely dangerous if swallowed, capable of causing serious internal injury within hours.
Keep cords and strings out of reach. This includes charging cables, headphone cords, and the drawstrings on clothing. Avoid toys with detachable parts until your child is older than the age the manufacturer recommends, and take that guidance seriously.
Window Cords and Electrical Outlets
Window coverings with cords are a strangulation risk. The safest solution is to replace them with cordless blinds or shades. If replacement isn’t possible right now, secure the cords with a wind-up cord holder mounted high on the wall, well out of reach. This applies to every window and sliding glass door in rooms where your baby spends time.
For electrical outlets, tamper-resistant receptacles are more effective than removable plastic covers. Removable covers can become choking hazards themselves if a child pulls one out. Tamper-resistant outlets have built-in spring-loaded shutters that require simultaneous pressure on both slots to open, which is beyond what a toddler can manage. If your home was built or renovated after 2008, you may already have them. Check by inserting a single plug prong. If it doesn’t go in, you have tamper-resistant outlets.
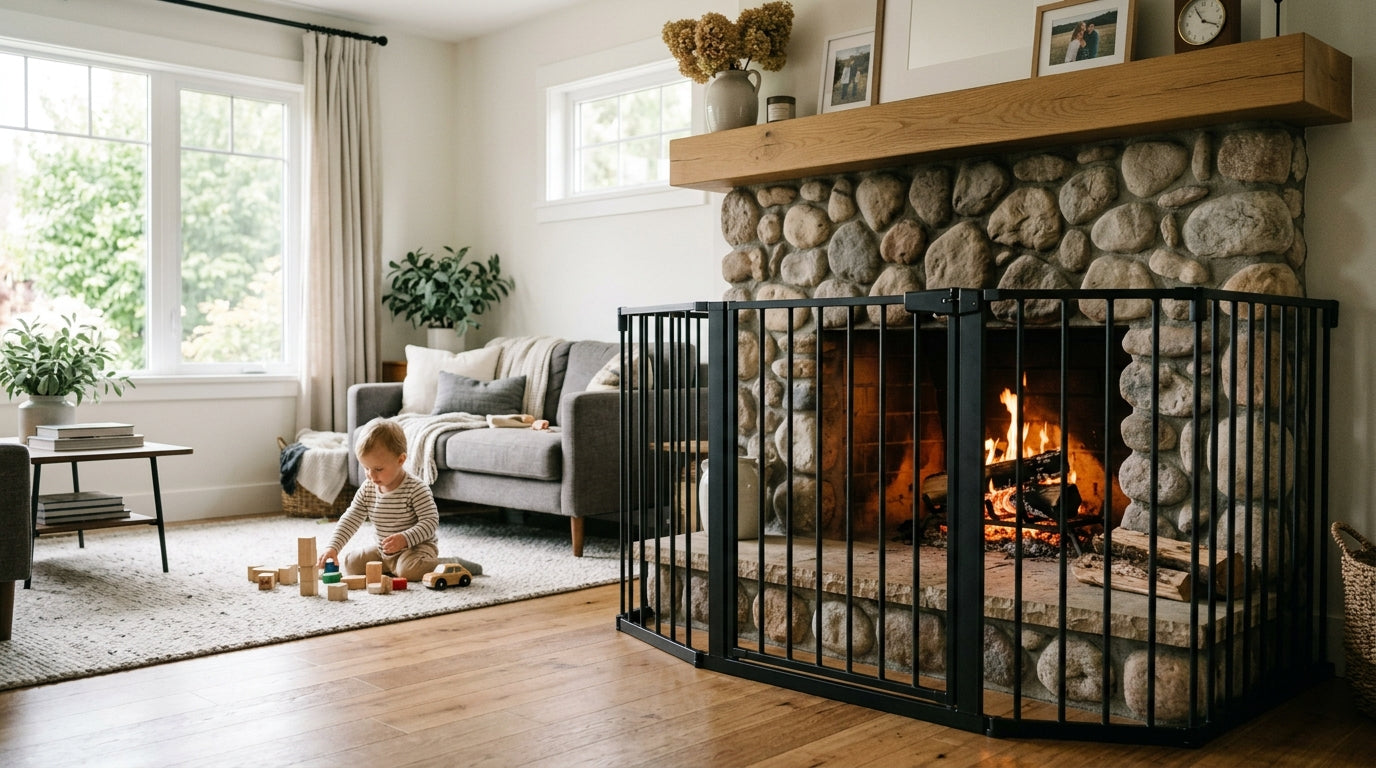
Stair Gates: Hardware-Mounted at the Top
That number makes stair gates non-negotiable once your baby starts crawling. The CPSC recommends hardware-mounted gates for the top of stairs. These screw directly into the wall or stud and cannot be knocked loose. Pressure-mounted gates, which work by tension alone, are fine for doorways and the bottom of stairs, but a determined toddler can dislodge them. In my experience, a toddler can figure out how to push a pressure-mounted gate out of a doorway by 19 months. A hardware-mounted gate at the top of the stairs is not a place to cut corners.
ASTM F1004 is the federal safety standard for expansion gates and expandable enclosures, made mandatory under 16 CFR Part 1239 (effective 2021). Look for this certification on any gate you purchase.
Priority Baby Proofing Checklist
Baby Proofing Is a Moving Target
Here’s what nobody tells you before the first birthday: the baby proofing you did at six months is already becoming obsolete. A child who could only roll is now pulling to stand. The child who couldn’t reach the counter is now using a laundry basket as a step stool.
Reassess your home every few months. Lower furniture and adjust your safety measures as your child grows taller and more capable. The cabinet lock that defeated your baby at 10 months may not defeat your toddler at 22 months. My older daughter defeated an adhesive strap lock at 26 months. I had been confident in that lock for over a year.
The goal is not to achieve a permanently baby-proofed home. The goal is to stay one step ahead.
A Practical Way to Start Without Losing Your Mind
Trying to baby-proof your entire home in a single weekend is a reliable path to burnout and incomplete work. Instead, write down your three priority zones and set a realistic timeline: one room per week, or one category per weekend.
A simple written checklist works better than memory. Mark what’s done, note what’s still needed, and keep the list somewhere visible. When you finish the nursery, move to the bathroom. When the bathroom is done, move to the kitchen. Then reassess the rest of the house.
You don’t need to be perfect. You need to be systematic. The parents who do this well aren’t the ones who spent the most money or the most time in a single push. They’re the ones who kept coming back to the list as their child grew.