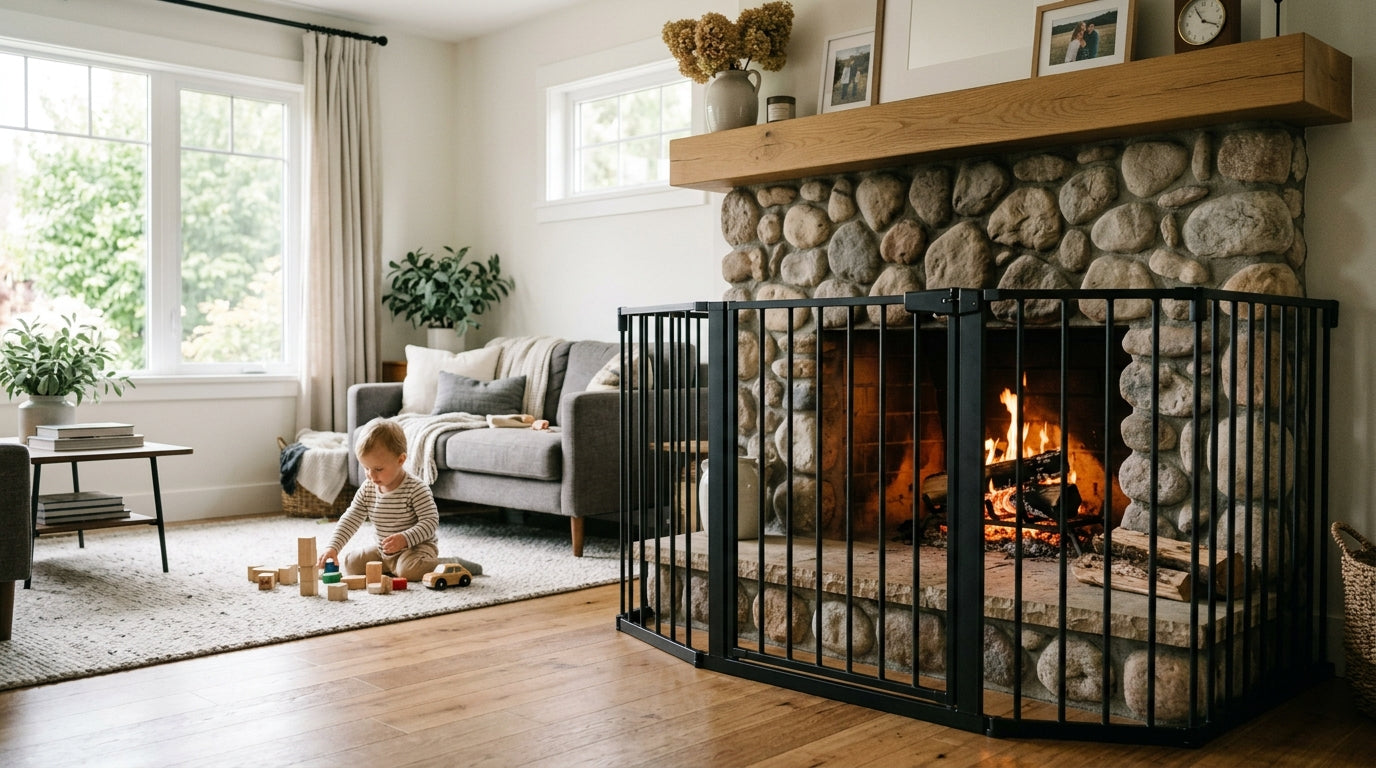
Dresser and Nightstand Anchoring: Preventing Bedroom Tip-Overs

The bedroom feels safe. It’s quiet, familiar, carpeted. But CPSC reports one child death every two weeks from furniture, TV, or appliance tip-overs, and half of all child tip-over deaths happen in the bedroom. Not the kitchen. Not the stairs. The bedroom, where dressers and chests are the dominant climbable furniture.
That number stopped me cold when I first read it. My older daughter was 18 months old, and I had a six-drawer dresser sitting unanchored against the nursery wall because I kept telling myself I’d get to it once we were fully unpacked. We were never fully unpacked. I anchored it the same afternoon I read that statistic.
Why Dressers Are the Problem Unit
Not all furniture tips over equally. TVs are involved in 47% of tip-over fatalities, with dressers second at 36% (CPSC 2023 Annual Tip-Over Report). But the dresser number is the one that should concern parents most, because dressers sit in bedrooms, and children use them as ladders.
The physics are straightforward. A child pulls open the bottom drawer and steps onto it. Then the second drawer. The dresser’s center of gravity shifts forward as the drawers extend. The child’s weight, even at 25 or 30 pounds, applies leverage at the front edge. The base lifts off the floor. The whole unit rotates forward. It happens in seconds, and it happens silently.
CPSC counted 38 child fatalities from furniture-only chest, bureau, and dresser tip-overs between January 2013 and July 2023. Those are units with no TV involved. Just the dresser and a child who found a way to climb. Chests, bureaus and dressers caused 36% of all U.S. tip-over deaths in CPSC’s latest reporting, and 81% of those deaths were children.
Nearly 80% of tip-over fatalities involve children age 5 and younger (CPSC). These are toddlers and preschoolers. Children who are old enough to climb but not old enough to understand what falling furniture means.
How Wall Anchoring Works
A furniture strap does one thing: it transfers the tipping force from the furniture’s base to your wall’s structural frame. Without an anchor, the only thing preventing a tip-over is the weight of the dresser itself and the friction of its feet against the floor. A climbing toddler can overcome both.
When you bolt a strap into a wall stud and attach the other end to the top rear of the dresser, you’re connecting the piece to your home’s skeleton. The stud is a 1.5-inch-wide piece of dimensional lumber running floor to ceiling, fastened to the top and bottom plates of your wall frame. A lag bolt driven into that stud can hold several hundred pounds of pull force. The dresser isn’t going anywhere.
This is why CPSC guidance emphasizes anchoring to studs rather than drywall. Drywall anchors, even good ones, are rated for static hanging loads, not for the sudden dynamic force of a 35-pound child swinging off an open drawer. I’ve seen drywall anchors pull clean through the paper face of the board under load. A stud anchor doesn’t do that.


What You Need Before You Start
Get a stud finder before you do anything else. Wall studs are typically spaced 16 inches apart, and you need to hit one, not the space between them. Magnetic stud finders work on older homes by locating drywall screws. Electronic models are faster and more reliable. Run it slowly across the wall, mark both edges of the stud, and drive your anchor into the center.
Your hardware list:
- Furniture anti-tip straps (sold as tip-over straps or restraint cables)
- A stud finder
- A power drill with a bit sized for your lag bolts
- A level (optional but useful for getting the angle right)
- The lag bolts or screws included with your strap kit, or upgraded hardware if the included screws are short
Check the load rating on any strap you buy. Most residential anti-tip straps are rated between 50 and 100 pounds. That rating needs to cover the combined weight of the furniture piece plus the dynamic load of a climbing child. For a heavy dresser with a larger toddler in the house, verify the specific capacity before you buy. If the packaging doesn’t list a load rating, choose a different product.
-
Position the dresser
Place the dresser in its permanent location before drilling anything. Moving it later means patching holes and starting over. -
Attach the furniture bracket
Screw the bracket to the top rear corner of the dresser. Use longer screws if the back panel is thin particleboard. -
Locate the wall stud
Run a stud finder slowly across the wall. Mark both stud edges and drive your lag bolt into the center. -
Mount the wall bracket
Attach the wall bracket at the same height as the furniture bracket, angled slightly downward toward the wall. -
Connect and tension the strap
Run the strap between both brackets and take up all slack. A bowed strap allows dangerous travel before it engages. -
Add a second strap if needed
Any dresser wider than 24 inches needs two straps, one at each rear corner, to prevent corner rotation.
Installing the Straps
Position the dresser where it will live permanently before you anchor it. Moving it after installation means patching holes and starting over.
Attach the furniture end of the strap first. The bracket goes at the top rear corner of the dresser, on the back panel or the top surface near the back edge. Use the hardware provided, or longer screws if the dresser’s back panel is thin particleboard. Thin particleboard pulls out under load. If your dresser has a flimsy back, drive the screw through the back panel and into the top of the dresser’s side wall instead.
Now locate your stud. The wall bracket should attach at roughly the same height as the furniture bracket, angled slightly downward toward the wall. This angle matters. A strap installed horizontally resists forward tip but not lateral movement. A strap angled downward toward the wall resists both forward and lateral tipping. Drive your lag bolt into the center of the stud, leaving a small gap so the bracket can seat flat.
Connect the strap between the two brackets and take up the slack. The strap should be taut, not bowed. A loose strap allows the dresser to travel several inches before the strap engages, and that travel is enough to cause injury.
Install two straps on any dresser wider than 24 inches, one at each rear corner. A single central strap leaves the corners free to rotate.
Nightstands Deserve the Same Treatment
Parents anchor dressers and forget nightstands. This is a mistake, especially in a child’s bedroom.
Nightstands sit directly beside cribs and toddler beds. An infant pulling to stand at the crib rail can reach a nightstand. A toddler who climbs out of bed at 2 a.m. will use whatever is closest for support. Nightstands are typically lighter than dressers, which makes them tip more easily, not less.
The installation process is identical. Locate the stud, attach the furniture bracket to the top rear of the nightstand, run the strap to the wall bracket, take up the slack. If the nightstand is too narrow for two straps, one centered strap is acceptable, but verify the stud is directly behind the piece.
When I set up the room my younger daughter eventually moved into, I anchored the nightstand before I assembled the toddler bed. She was 14 months at the time and already pulling up on everything in reach. I wasn’t going to wait.
Drawer Stops Reduce the Risk Further
Anchoring handles the catastrophic failure. Drawer stops address the behavior that triggers it.
A drawer stop is a small plastic or metal fitting that prevents a drawer from extending fully. Full extension is what creates the leverage problem. When a drawer can only open 6–8 inches, a child can’t step onto it, and the center of gravity shift is much smaller.
Most hardware stores carry universal drawer stops that press-fit into the drawer channel. They take about two minutes per drawer to install. Combine them with drawer locks if you have a child who has already figured out how to open drawers. The goal is to make the drawer boring and inaccessible, not just physically limited.
Rental-Friendly Options and Their Limits
If you rent and your landlord won’t allow wall penetrations, your options narrow considerably. Adhesive-backed furniture pads and freestanding anti-tip bars exist, and they are better than nothing. They are not as reliable as wall anchoring.
Adhesive products depend entirely on surface compatibility. Textured paint, wallpaper, and older wall surfaces all reduce adhesive strength. In my testing, one of six adhesive strap products failed within 48 hours on a textured wall. The other five held, but one failure in six is not an acceptable rate for a safety-critical application.
If you rent, talk to your landlord directly. Many will allow small holes for safety hardware, especially with a written request framing it as a child safety measure. Patch kits exist that restore drywall to move-in condition. A stud-anchored strap and a $5 patch kit is a reasonable trade for a landlord to accept.
If permanent anchoring is truly impossible, use the adhesive option, combine it with drawer stops and drawer locks, keep the dresser away from the crib or bed, and remove any items near the dresser that a child might climb to reach it.
Biannual Anchor Inspection Checklist
Inspect Your Anchors Twice a Year
Anchors loosen. It happens from vibration, from seasonal temperature changes that expand and contract wall framing, and from the minor jostling of everyday use. A strap that felt tight at installation may have 2–3 inches of play six months later.
Set a calendar reminder for spring and fall. Check each strap by gripping the dresser at the top and applying forward pressure. There should be no movement before the strap engages. Check the wall bracket for any wobble. Check the furniture bracket for any cracking in the wood around the screw holes. If the wood has compressed or split, move the bracket to a new location and fill the old holes.
After any move, any furniture rearrangement, or any time you notice a child has been particularly interested in the dresser, inspect immediately. Don’t wait for the scheduled check.
Anchoring as Part of the Broader Bedroom Setup
Furniture anchoring is one piece of a bedroom safety strategy, not the whole thing. Once the dresser and nightstand are secured, look at what’s near them.
Toys, pillows, and stacked blankets near a dresser give a child a step up. Clear the floor around the base. Position dressers away from windows, which introduce cord hazards and fall risks. If your dresser has a mirror attached, verify the mirror is also secured, either to the dresser frame or independently to the wall. A falling mirror is its own injury scenario.
The right time to anchor is before a child has access to the room. Anchoring a dresser after a toddler is already mobile in that space leaves a window of vulnerability that can last days or weeks depending on your schedule. Build it into your nursery setup or room preparation checklist, the same way you’d install an outlet cover or a door knob guard.
An average of 17,800 ED visits per year result from furniture and TV tip-overs (CPSC 2023 report). Most of those visits are preventable with hardware that costs under $20 and takes 30 minutes to install. The dresser in your child’s room is the highest-risk unit in the highest-risk room. Anchor it to a stud, add drawer stops, and check the hardware every six months.