
How to Baby Proof Cabinets and Drawers Without Handles or Knobs
Flat-front cabinets and drawers still need a lock. Here is how a hidden magnetic lock and an adhesive strap work when there is no handle to use.

To baby proof cabinets without handles, start with the Magnetic Safety Lock Kit. The lock mounts out of sight inside the door, and an adult opens it from outside with a magnetic key. If you would rather mount nothing inside, the Adjustable Safety Strap Lock is the alternative that sits on the outside.
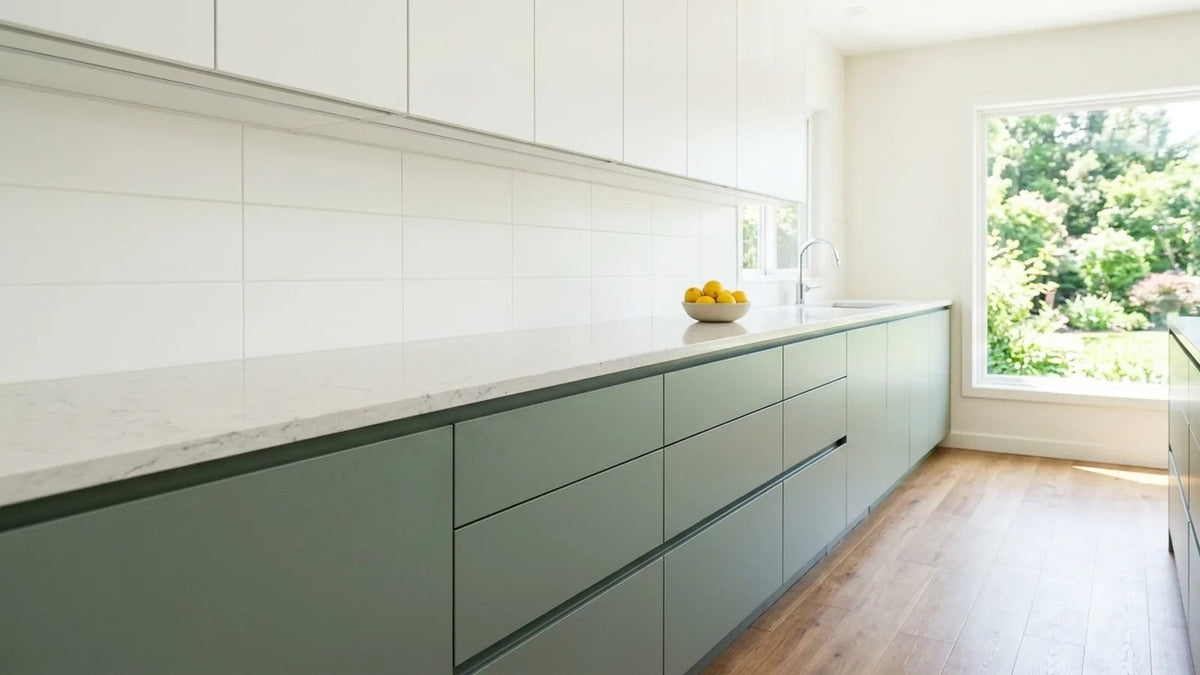
A flat front with no handle or knob still opens. That means it still needs a lock.
Picture this: you stand in front of a sleek, flat-front cabinet with nothing to grip. You can see no hardware, so it looks secure. But a toddler may still pull on a drawer edge or a door seam, and the cleaning supplies are right behind it.
Baby Proof Cabinets Without Handles Using a Magnetic Lock
The product page says, 'Our magnetic lock is invisible and will not be seen.' As the install video shows, the lock sticks to the inside of the door. No lock hardware sits on the front. The only outside mark is a clear positioning sticker, covered below.
An adult opens the door with the magnetic key. Baby Proof Me’s key product page says, 'Touch the magnet to the surface of the cabinet to disengage the lock.' Because the key does the work from outside, nobody has to grab a handle or fumble with a latch.
The 2-inch reach is the number to check on a handleless front. The product page lists 3,100 Gauss neodymium magnets with a 2-inch reach. The key works from outside, so it has to reach the lock through the front panel. If your door or drawer front is thick or layered, measure it from the outside face to the inside face, where the lock sits. Then check that depth against the 2-inch figure before you mount anything.
Each lock can be mounted two ways. The product page says, 'Our users can choose to secure our locks with the strong 3M adhesives or screw them in.' For an adhesive mount, it says, 'For best results allow 24 hours for the adhesive to fully bond onto the surface.' The page gives no wait for a screw mount.
It helps to read up on removing adhesive locks without damage before you commit to a spot.
What comes in the box
The product page describes a kit of 12 locks and 3 keys. It lists these extras:
- An installation cradle
- 3M adhesives
- 6 alcohol pads
- 12 clear positioning stickers
- 24 screws
- A ruler
The kit is sold in four sizes: 6 locks with 2 keys, 12 with 3, 24 with 6, and 36 with 9. The page does not say whether these extras change for the other sizes. Count the parts in your box before you start, and match the number of locks to the number of fronts you want to cover.
Marking the spot with the clear sticker
With no handle, you have nothing to tell you where to hold the key. As the install video shows, once the lock is mounted and lock mode is on, you place one of the clear positioning stickers over the latch area on the outside of the door. Then you bring the magnetic key to the sticker to open the door. The video’s caption says to hover the magnet near the sticker.
In the video, the sticker goes on last, after the lock is mounted and lock mode is on. Once it is in place, every adult in the house has the same spot to aim for.
The mounting steps themselves are in the kit’s install video. Watch it through before you peel any backing.

Drawers With No Pull
The product page names cabinets and pull-out drawers as uses for the locks. The install video ends by showing the lock on a drawer.
As the install video shows, the locked drawer stops a short way open. Hold the magnetic key near the top edge of the drawer front, and the drawer opens. The video does not show where the lock and latch go inside a drawer. Check with Baby Proof Me rather than guessing at a spot.
After you close the drawer, check that it has locked again. CPSC says safety devices must be reengaged after use, and a drawer that only looks closed gives you no protection.
One limit applies. A fixed false front that does not open has nothing to lock. Pull gently on each front first, so you know which ones are real drawers.


The Strap Lock When You Would Rather Mount Nothing Inside
The Adjustable Safety Strap Lock sits on the outside. Its product page describes 3M adhesive with no drilling required ('Just peel and apply') and lists cabinets and drawers among its uses. If you rent, or don’t want screw holes, read more about no-drill cabinet locks.
As the strap’s install video shows, one end sticks to the part that opens. In the video’s example, that is the drawer front near its corner. The other end sticks to the fixed side, which is the cabinet’s side panel. The strap wraps around the corner, and the drawer stays shut when pulled.
Prep matters, and the video shows it in order:
Strap Lock Prep
-
Clean and dry
Clean and dry both spots where the strap ends will stick. -
Peel the backing
Peel the adhesive backing off both ends of the strap. -
Press firmly
Press each end firmly onto its surface.
The product page adds, 'For best results allow 24 hours for the adhesive to fully bond onto the surface.' Give the adhesive the full 24 hours.
In the video, sliding the smart release tab unlocks the strap. Pushing the buckle back onto its base plate on the drawer front locks it again. Make that second step a habit every time you open the drawer.
Strap Lock for Double Cabinet Doors With No Handles
Picture this: two flat-front doors meet in the middle of a cabinet. There is nothing to grip, and no handle to loop anything through. The strap bridges the gap between them.
As the strap’s install video shows, the strap goes across two side-by-side cabinet doors. You slide off the lock tab, shorten the strap to the length you need, and slide the lock tab back on. That tab is how you set the fit for your own doors.
Set the length with your own cabinet in front of you, and use the same clean, dry, press-firmly prep you would use on a drawer.
Which Lock Fits
Choose the magnetic lock if you want no lock hardware on the front. It mounts inside, goes on with adhesive or screws, and opens with a key held to the outside of the door or drawer front. Check the thickness of the front against the 2-inch reach first. For more on fit, see our guide to magnetic locks on different cabinet types.
Choose the strap if you would rather mount nothing inside. It uses adhesive with no drilling, goes from a drawer front to a side panel, and can bridge two side-by-side doors.
Picture this: you are standing in a kitchen with a mix of flat-front drawers and double doors. Each lock may suit different spots, so you are not locked into one choice for the whole room.
If you are working through every cabinet in the house, handleless fronts are only one part of a full cabinet baby-proofing plan.
What CPSC and the AAP Say About Locks
CPSC’s home safety guidance for kids and babies says to use safety latches and locks 'for cabinets and drawers in kitchens, bathrooms and other areas to help prevent poisonings and other injuries.' It says they 'can help prevent children from gaining access to medicines, laundry detergent, household cleaners.' It also lists matches, lighters and sharp objects. Walk through each handleless front and ask what sits behind it.
CPSC asks for latches that adults can install and use but that are 'sturdy enough to withstand pulls and tugs from children.' It also says safety devices 'must be properly installed and reengaged after use.'
A lock is one layer. The AAP says latches help, but 'there is always a chance the device will malfunction or the child will defeat it.' It advises keeping medicine, cleaning and laundry products 'in locked cabinets or containers, out of sight and reach of children.' CPSC adds that even products with child-resistant packaging 'should be locked away and kept out of reach.'
If a toddler starts working out a lock, that is a signal to look at upgrades.
The product page says the product 'is not a substitute for adult supervision.' It also says to stop using it immediately if it becomes faulty.
Keep the Magnetic Keys Out of Sight and Reach
The keys that open these locks are magnets. Store them where children cannot see or reach them, such as a high shelf or a closed, locked container. Put each key back in that spot every time you use it, rather than setting it on a counter. If a key goes missing, see what to do if you lose the magnetic cabinet lock key.
CPSC says, 'Keep small magnets away from children.' CPSC also says, 'If you suspect magnets have been swallowed: Seek immediate medical attention.' Call 911, or Poison Help at 1-800-222-1222 (America’s Poison Centers).