Roughly one child every six minutes is treated in a U.S. emergency room for a stair-related injury, according to a Nationwide Children’s Hospital analysis of CPSC NEISS data. Read that again. Every six minutes. Stairs are one of those hazards that parents often underestimate because they’re so familiar, so permanent, so just-part-of-the-house. But the moment your baby figures out how to pull to stand, that staircase becomes one of the most urgent things you need to address.
I know this from the week my older daughter started cruising the furniture. She made it to the bottom step before I made it across the room. We had a gate on order. It arrived two days later. Those two days felt very long.
I’ll tell you what I’ve installed, what failed, and what the standards require.Why Stairs Demand More Than a Basic Gate
Not all baby gates are created equal, and the distinction matters most at the top of a staircase.
Pressure-mounted gates work by tension. Two rubber feet press against opposing walls, and friction holds the gate in place. They’re fast to install and leave no holes in the wall. But they can be pushed out. At the top of stairs, a child falling into a pressure-mounted gate can dislodge it. That’s not a theoretical risk. It’s the reason the industry and safety organizations consistently say: pressure-mounted gates belong at the bottom of stairs or in doorways, never at the top.
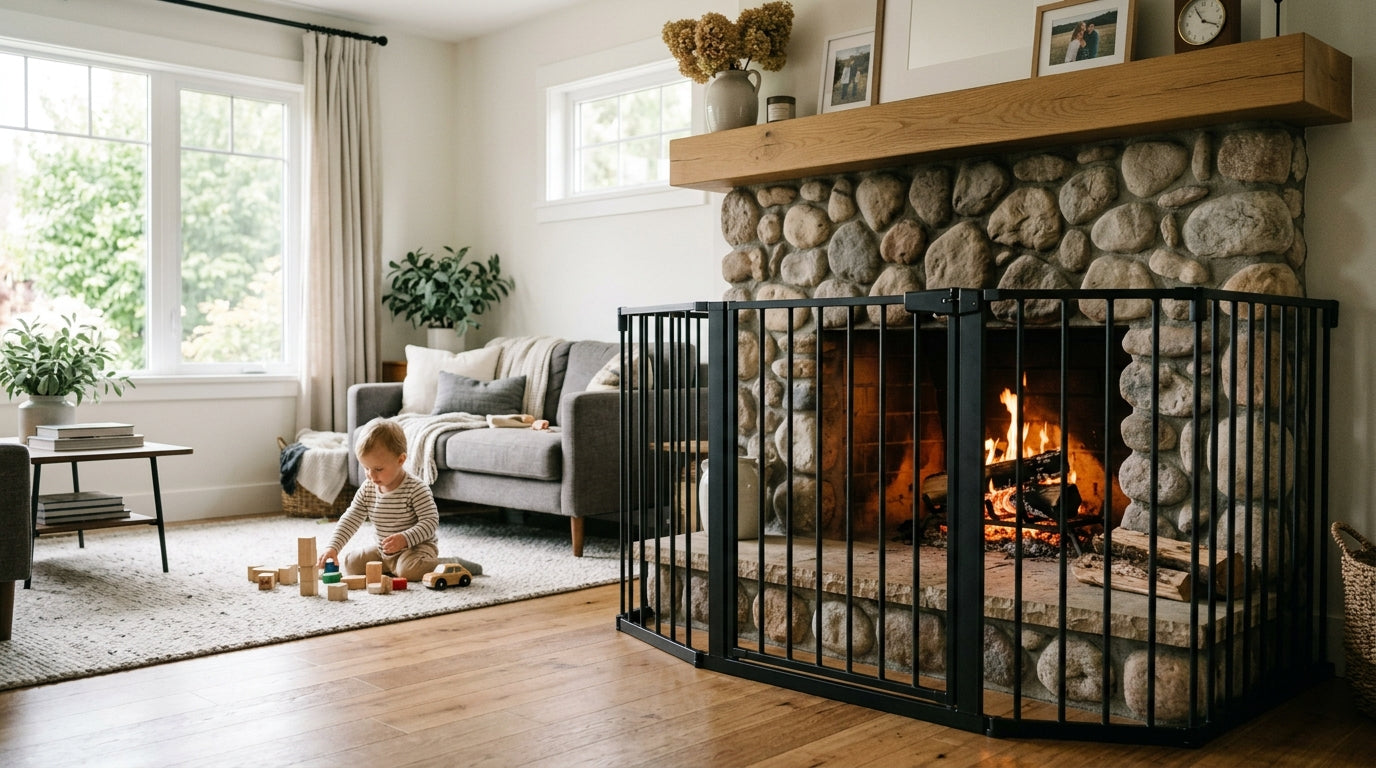
Hardware-mounted gates bolt directly into wall studs or a solid banister post. They require a drill and some patience, but they cannot be pushed through. For the top of any staircase, this is the only appropriate choice.
ASTM F1004 is the safety standard for expansion gates and expandable enclosures. When you’re shopping, look for that certification. When you’re shopping, look for that certification. It means the gate has passed minimum structural tests. It’s a floor, not a ceiling, but uncertified gates haven’t even cleared that floor.
Hardware-Mounted Gates: What to Look For
Once you’ve committed to a hardware-mounted gate for the top of your stairs, you have real choices to make about design.
Opening direction matters. A gate that swings toward the stairs is a problem. If a child leans on it while it’s unlatched, they go down. Look for gates that swing away from the stairs, or that have a self-closing, auto-latching mechanism that requires deliberate adult operation to open. Most quality gates now include both features.
Width range. Standard staircases run around 36 inches wide, but older homes vary. Measure your opening before you buy. Most gates extend with included panels or optional extensions, but extensions can affect structural integrity if you stack too many. Check the manufacturer’s maximum width for the specific gate model, not just the base range.
Latch complexity. You want a latch your toddler cannot figure out. My older daughter defeated a basic adhesive cabinet lock at 26 months, so I have a healthy respect for toddler problem-solving. Gates with two-step latches, squeeze-and-lift mechanisms, or directional requirements (push down, then lift, then swing) hold up better over time. Test the latch one-handed. You’ll be carrying laundry, a baby, or a coffee mug when you need to open it.
Spindle spacing. Any vertical bars should be spaced no more than 2.375 inches apart to prevent head entrapment. Run a ruler across a few bars before you buy if you’re purchasing in person, or check the spec sheet online.


Pressure-Mounted Gates: Where They Belong
At the bottom of stairs, pressure-mounted gates are useful. They’re faster to install, easier to remove when you move or reconfigure a room, and they don’t require you to find studs in a plaster wall at 10 p.m.
The installation still matters. The rubber feet need to press against solid surfaces. Baseboard trim can create a gap that lets the gate shift. Some gates include spacers to compensate for baseboard depth. Use them. A gate that wobbles when you push it is not doing its job.
When my younger daughter was about 14 months old, I came back from answering the doorbell to find her at the bottom of the stairs with the under-sink cabinet emptied around her. The gate at the bottom had held. She’d gone around it, through the kitchen. The point being: gates are one layer of protection, not a complete system.
Check the pressure-mounted gate monthly. The tension can loosen over time, especially if children push on it regularly. A quick push test takes five seconds.

- Top landing: hardware mount required here
- Banister gaps wider than 2.375 inches
- Slippery treads: add non-slip strips
- Bottom landing: pressure mount acceptable
Banister Adapters and Awkward Openings
Here’s where most stair gate guides stop being useful, because most staircases don’t have two flat walls to mount between.
Banister-to-wall kits let you mount one side of the gate to a round or square banister post instead of a wall. They typically include a clamping bracket that wraps around the post and provides a flat mounting surface. The quality of these kits varies significantly. A cheap adapter on a round banister can rotate under load. Look for kits with multiple contact points and a locking mechanism that prevents rotation.
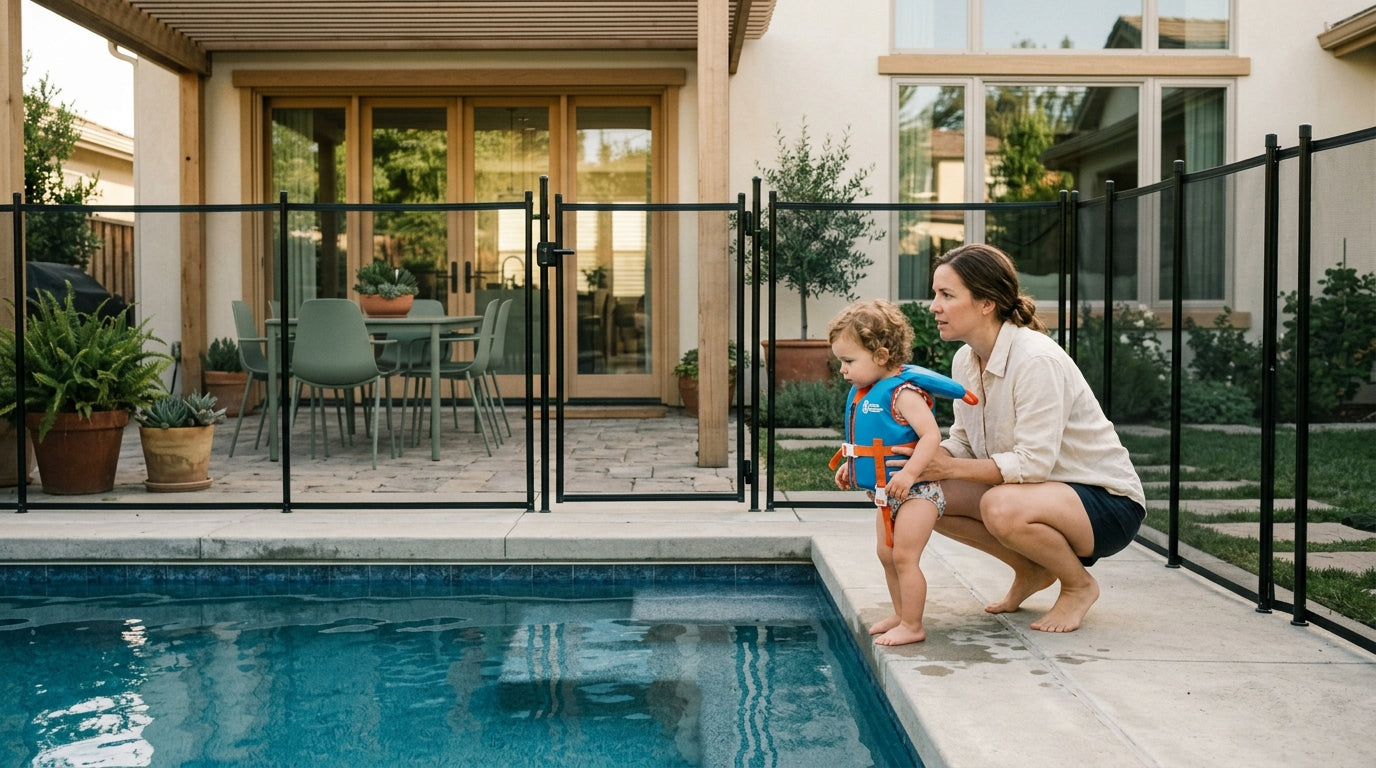
Banister-to-banister configurations are harder. If your staircase opens onto a landing with banisters on both sides and no wall, you need a gate system specifically designed for this, or a custom solution. Some companies make freestanding enclosures that can be configured for open landings. They’re more expensive and less common, but they exist.
Angled or sloped openings are another common problem. Some staircases have a top rail that angles down from the wall, which means your gate opening isn’t a clean rectangle. A handful of gate models include angle adapters or flexible mounting hardware. If yours doesn’t, contact the manufacturer before you buy. Improvising a mount on an angled surface is how gates end up failing.
When in doubt, hire a handyman who has installed baby gates before. A $75 installation fee is worth knowing the gate is anchored into a stud and not just into drywall.


Retractable Mesh Gates: The Trade-Off
Retractable mesh gates are sleek, disappear when not in use, and work on wider openings that would require multiple extension panels on a traditional gate.
They’re hardware-mounted, which is correct for stair tops. The mesh is typically rigid enough to resist a child’s weight. The latch mechanisms on quality models require two steps.
Mesh gates are slower to open and close than swing gates. If you’re moving through that opening fifteen times a day, the extra half-second adds up. More importantly, the mesh material needs to be inspected periodically. Small tears can grow. Check the attachment points where the mesh meets the frame, because that’s where stress concentrates.
I tested a retractable gate at the top of our second-floor landing for about four months. It held up well, but I found myself leaving it unlatched more often than I should have because the latch required two distinct hand movements. That’s a me problem, not a product problem, but it’s worth knowing your own habits before you choose a gate style.
Teaching Stair Safety Alongside the Gate
Gates are not permanent. At some point, your child needs to learn to navigate stairs safely, and that transition is its own project.
Children are typically ready to practice stair climbing with supervision around 12–18 months. The skill to teach first is going down: feet first, on their belly, sliding to the floor. It feels counterintuitive to adults, but it’s the safest descent method for toddlers who aren’t yet steady on their feet.
Practice supervised stair use daily once your child is developmentally ready. Keep the gate in place during unsupervised time. The goal is a child who can navigate stairs competently before you remove the gate, not a child who figures it out by accident.
Non-slip treads on each step are worth adding regardless of your gate situation. Hardwood and painted stairs are slippery for small feet and for adults carrying children. Adhesive treads or carpet runners reduce fall risk for everyone in the house.
Gate Installation Checklist
When to Remove the Gate
There’s no universal answer, but there are useful markers. Most families remove stair gates when a child can reliably go up and down independently without holding the wall, can stop themselves if they slip, and understands that running on stairs is not safe. For most children, this lands somewhere between 2 and 3 years old, but some kids need the gate longer.
Remove the gate when your child is ready, not when you’re tired of stepping over it. The gate is an inconvenience. A stair fall is not.
Patch the mounting holes when you remove the hardware gate. Use a stud-appropriate wall anchor filler and paint to match. The holes are small, and the repair takes twenty minutes. Your walls will look fine.
A Quick Installation Checklist
Before you declare the gate installed and move on, run through this:
- Both sides are anchored into studs or solid banister posts, not drywall alone
- The gate does not wobble when you push it firmly from both directions
- The latch requires deliberate two-step operation to open
- The gate swings away from the stairs, not toward them
- Spindle spacing is 2.375 inches or less
- The gate is certified to ASTM F1004
- You’ve tested the auto-close and auto-latch by walking through ten times
A gate that passes all of these is a gate you can trust. Check it again in a month, and every few months after that. Hardware loosens. Tension fades. A two-minute check is the maintenance cost of keeping it reliable.