Baby Monitor Placement in the Bedroom: Cord Safety and Positioning

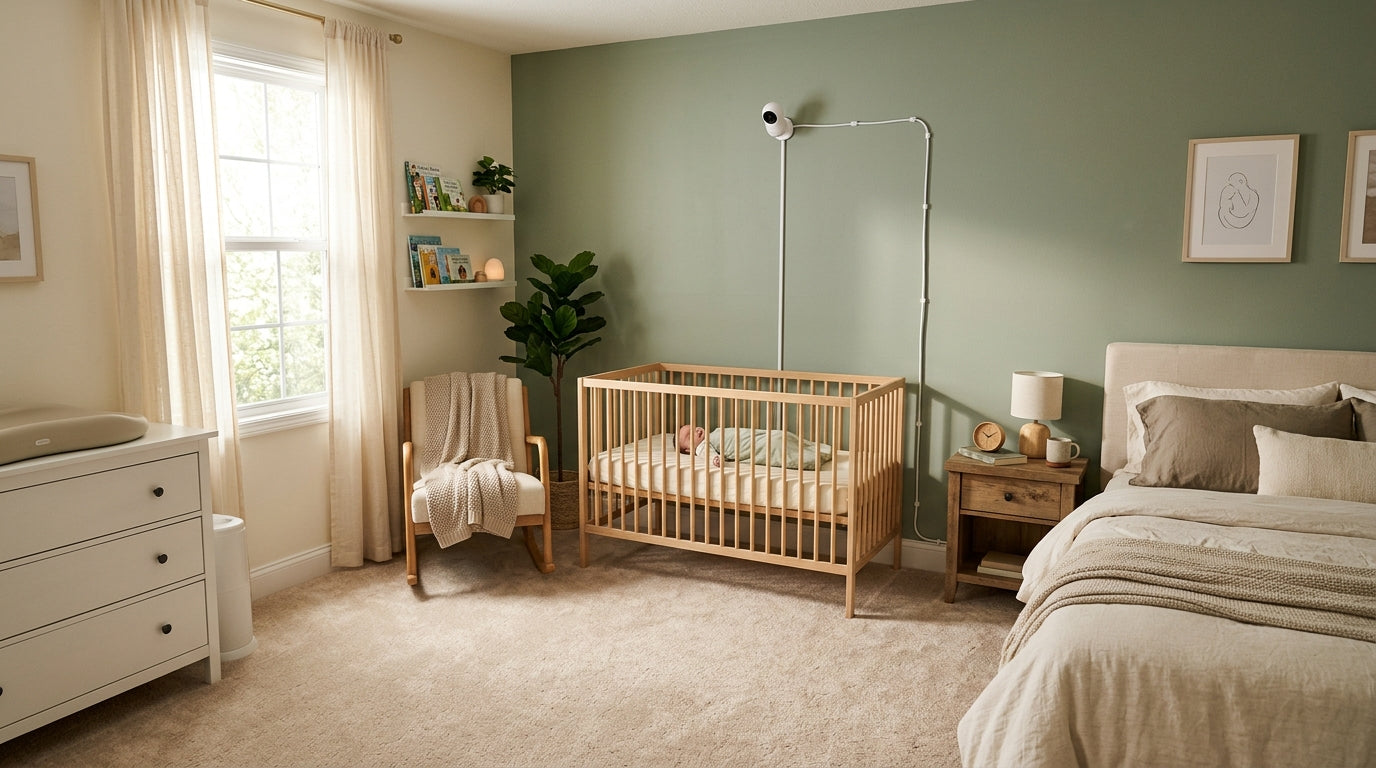
The camera is sitting right on the crib rail. The cord loops down the side of the mattress, coils on the floor, and disappears under the dresser. It is a setup I see in almost every nursery photo posted in parenting groups, and every time I see it, I have to say something.
Baby monitors are essential. But the way most parents install them creates two hazards that are avoidable: cord entanglement and an unstable camera that a growing baby can grab and pull. Getting the placement right takes about twenty minutes. Fixing it after something goes wrong takes much longer.
Why Cords in the Sleep Space Are a Serious Problem
A monitor cord is a tripping hazard for caregivers and a strangulation risk for infants and toddlers. Those are two different problems, and both matter.
For caregivers, a cord running across the floor in a darkened room is a fall waiting to happen. An adult tripping near a crib can fall onto it. That is not a hypothetical. It is the kind of injury that happens at 3 a.m. when you are exhausted and moving fast.
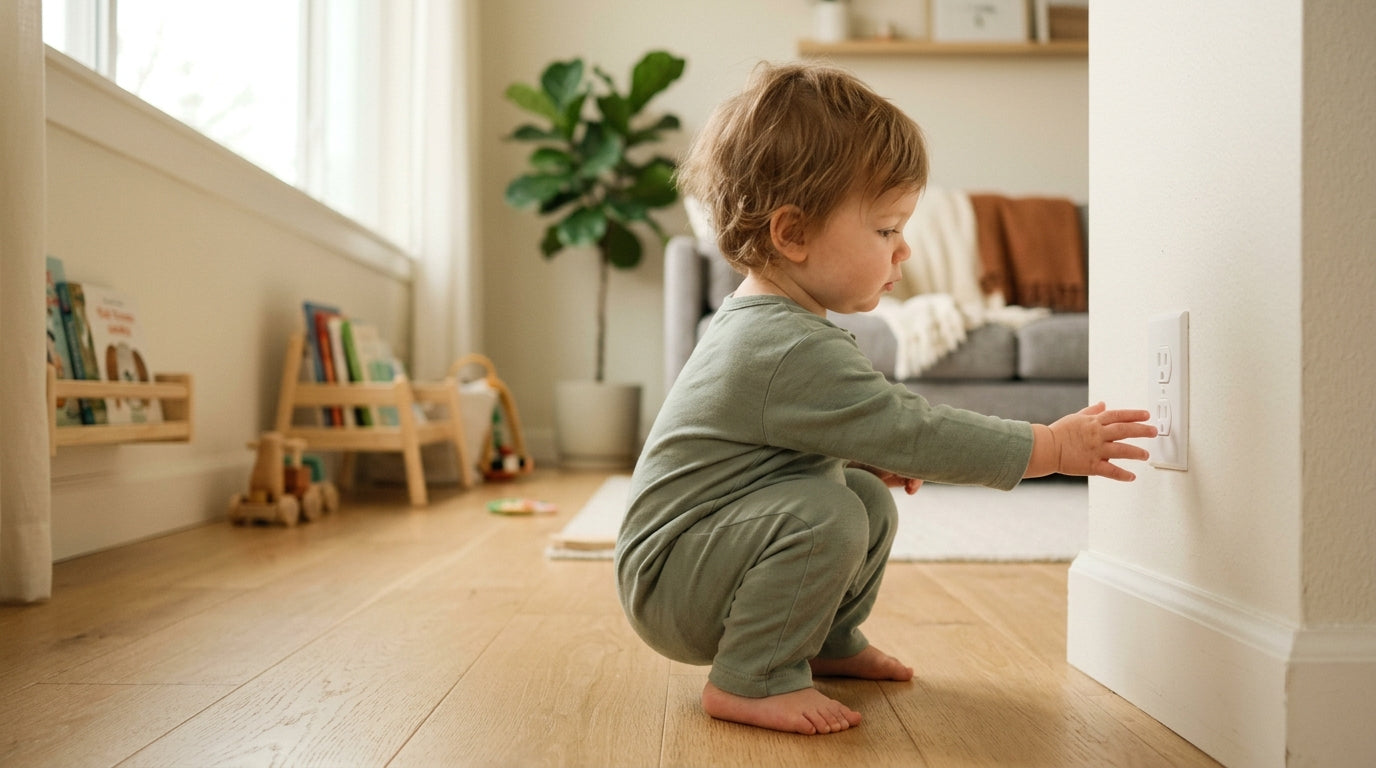
For children, the risk is entanglement. Cords near or inside a sleep space can wrap around a neck, a wrist, or a leg. The CPSC has documented this pattern repeatedly across product categories, and the mechanism is always the same: a child reaches, grabs, and gets tangled before anyone notices. The rule the CPSC and AAP both support is straightforward. Keep all cords at least 3 feet away from the crib, the changing table, and any furniture a child could climb to reach a cord.
That 3-foot rule is not generous. It is a minimum. When my older daughter was about 26 months old, she pulled a monitor cord off a dresser I had placed what I thought was far enough away. It was not. She had figured out how to climb the dresser drawer pulls, and the cord was within arm’s reach from the top. I moved the camera to a wall mount the next day.
Where to Mount the Camera
The crib rail is the worst possible location. It seems convenient because it gives a close-up view, but a baby who can roll will eventually grab the camera, and a baby who can pull to stand will yank it down entirely. Mount the camera on the wall or on a high shelf, above crib height, angled downward.
A 45-degree downward angle from above is the standard recommendation for a reason. It gives you a full view of the sleep surface without pointing the lens directly at the baby’s face, which matters at night when the camera’s infrared light or status LED can cause discomfort. Position the camera so it captures the full crib, not just the center. You want to see the corners.
Wall mounting is more stable than shelf placement, and I prefer it for that reason. Use the manufacturer’s approved mounting hardware. Not a generic adhesive hook, not a Command strip. The hardware that came with the monitor, or hardware the manufacturer explicitly approves. Check the mount weekly for the first month, then monthly after that. As babies grow and rooms get rearranged, things shift.
If you are using a WiFi video monitor, the stakes on stability are higher. A camera that falls into a crib is a suffocation hazard. According to the CDC, unintentional suffocation kills roughly 1,000 infants under age 1 each year in the United States. A falling camera is one preventable contributor to that risk.


Managing the Cord from Camera to Outlet
Once the camera is mounted, the cord needs a path to the outlet that keeps it off the floor and away from the crib perimeter. This is where most installations fall apart. People mount the camera correctly and then let the cord dangle down the wall in a loose loop.
Use cord management clips or a cable channel to run the cord flat against the wall from the camera mount down to the baseboard, then along the baseboard to the outlet. The goal is no slack, no loops, and no section of cord that hangs free at a child’s reach height. A cord bundled tight against the wall is much harder to grab than one with a 6-inch loop hanging at crib-rail level.
Do not run the cord under a rug or behind furniture. Under a rug, you cannot see if the insulation is cracking. Behind furniture, you cannot see if the connection has worked loose or if the cord is being pinched. Both conditions are fire and electrical risks. Route the cord where you can see it and inspect it.
For multi-camera setups, run all cords along the same wall pathway. It looks cleaner, it is easier to trace if something goes wrong, and it reduces the number of floor-level trip hazards.
The Outlet and Power Strip Question
Never plug a baby monitor into a power strip or extension cord placed directly next to the crib. The outlet should be at least 3 feet from the crib. If your room layout makes that difficult, use a surge protector with an on/off switch, place it on a high shelf or mounted on the wall, and route the cord from there.
Extension cords are a problem for two reasons. First, they add cord length, which means more slack and more opportunity for loops. Second, a cheap extension cord near a crib is a fire risk if it is overloaded or if the insulation is damaged. Plug the monitor directly into a wall outlet whenever the room layout allows it.
Check the cord itself monthly. Look for fraying, cracks in the insulation, and bent or discolored connectors. If you find any of those, replace the cord. Do not wrap damaged insulation in electrical tape. Tape is not a repair. It does not meet electrical safety standards, and it masks damage you need to see.
Positioning for Visibility Without Disturbing Sleep
Good camera placement is about more than safety. It is also about whether you can see your baby clearly at 2 a.m. without turning on a light.
Avoid angles that create glare on windows or mirrors. A camera pointed toward a glass surface at night will reflect the infrared light back at the lens and wash out the image. Test the nighttime view before you finalize the mount position. Look at the parent unit in a dark room and confirm you can see the full sleep surface, the baby’s face, and both sides of the crib.
If the monitor includes a temperature sensor or a nightlight, those components have their own cords to manage. A temperature sensor can usually be placed on a dresser across the room. It does not need to be near the crib to give an accurate reading of the room’s ambient temperature. A nightlight with a cord should be handled the same way as the camera cord: routed along the wall, no free-hanging sections, plugged into an outlet at least 3 feet from the crib.
The Parent Unit and Where It Lives
The parent unit (the receiver you keep with you) is easy to overlook in a placement conversation, but it matters. Never put it on a low nightstand or any surface a toddler can reach. A parent unit has a cord. A toddler who finds it will chew on it, pull it, and potentially pull the unit itself off the surface.
Keep the parent unit in your room on a high shelf, or carry it with you. If it lives on a surface, that surface should be high enough that a child standing on tiptoe cannot reach it. When my younger daughter was about 18 months old, she got into our bedroom and had the parent unit off the nightstand before I had finished answering the front door. I switched to a clip-on unit that lives on the top of the bookshelf after that.
Monthly Monitor Safety Check
Checking Your Setup as Your Baby Grows
A placement that is safe for a newborn may not be safe for a six-month-old, and definitely not for a twelve-month-old. Babies grow faster than most parents update their safety setups.
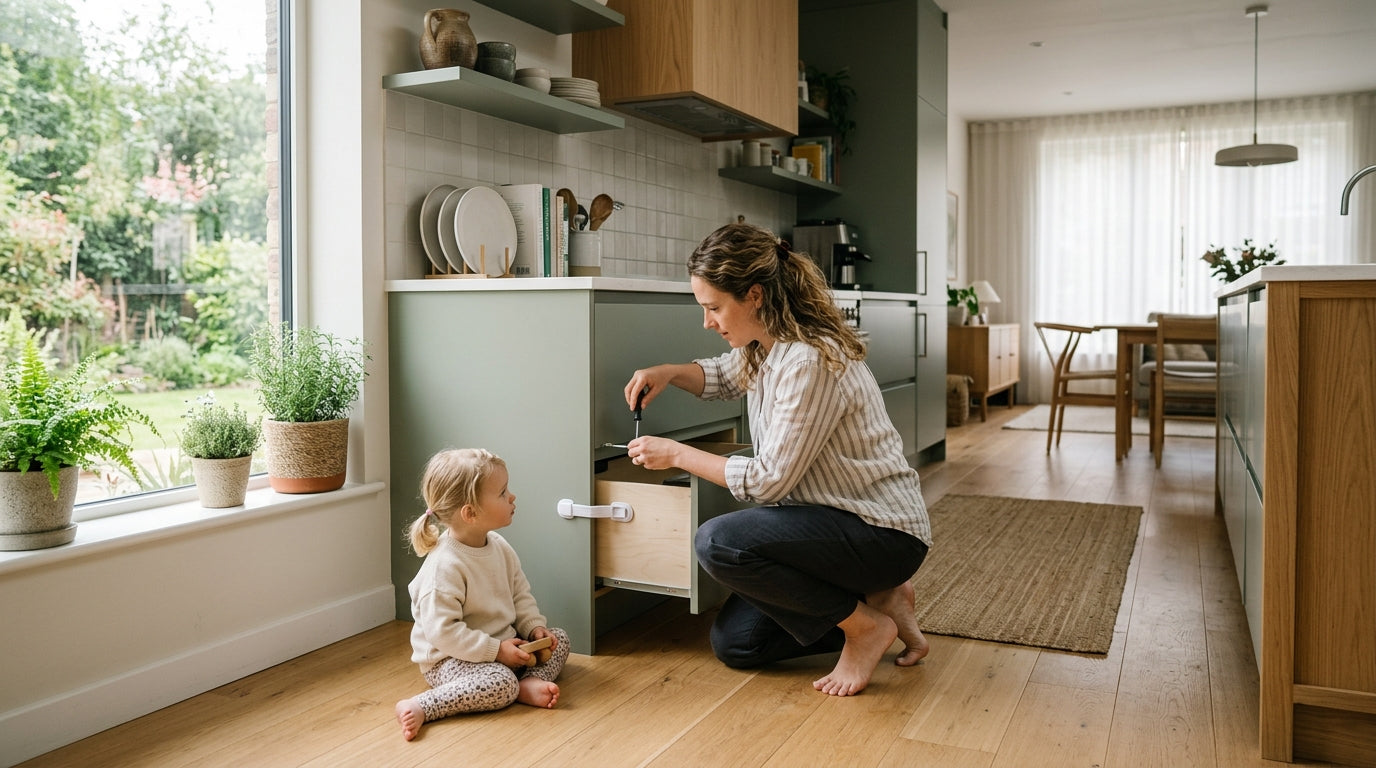
When your baby starts rolling, check that the camera angle still captures the full sleep surface. When your baby starts pulling to stand, check that no part of the camera mount or cord is within arm’s reach from a standing position in the crib. When your baby starts climbing, reassess every cord in the room, not just the monitor.
According to the CPSC, half of all child tip-over deaths happen in the bedroom, and the bedroom is also where monitor cords are most likely to be present near furniture a child might climb. These hazards compound each other. A child climbing a dresser to reach a monitor cord can tip the dresser. Treating cord safety and furniture anchoring as separate checklists misses that connection.
A Quick Monthly Inspection Routine
Set a reminder. Once a month, take five minutes and go through this:
- Check the camera mount for any wobble or loosening
- Trace the full cord path from camera to outlet and look for fraying, cracks, or pinch points
- Confirm no section of cord hangs free within 3 feet of the crib
- Check that the outlet connection is firm and the plug shows no discoloration or heat damage
- Verify the parent unit is still stored out of reach
- Confirm the camera angle still captures the full sleep surface
If you have rearranged furniture since the last check, redo the full assessment. Room rearrangements are the most common reason a previously safe setup becomes unsafe.
Getting the monitor placement right the first time is faster than fixing it after a scare. Route the cord along the wall, mount the camera high, keep the outlet connection away from the crib, and check the whole setup every month as your baby grows.