
How to Set Up a Safe Nursery: The Complete Baby Proofing Guide

Every nursery looks safe before a baby arrives. The room is clean, the furniture is new, the crib is assembled and sitting in the corner like a promise. Then your baby starts moving, and you realize the room you designed for a sleeping infant is not the room you need for a child who rolls, grabs, pulls, and climbs.
I’ve set up two nurseries and babyproofed both of them twice, once before each daughter arrived and again when each one started moving in ways I hadn’t anticipated. The second time around, I thought I knew what I was doing. I was humbled within weeks.
The Crib: Where Safety Starts
The crib is the single piece of furniture your baby will spend the most time in, and it’s where the highest-stakes safety decisions happen. Get this right before anything else.
The mattress must be firm and flat. Not "pretty firm." Firm enough that when you press your hand into it, it springs back immediately with no visible indent. Soft sleep surfaces increase suffocation risk. Use a single fitted sheet designed for that specific mattress. Nothing else goes in the crib. No pillows, no loose blankets, no stuffed animals, no sleep positioners, no wedges. The bare-crib rule is not a suggestion.
Bumper pads deserve their own mention because they are still being sold and gifted despite being banned. The Safe Sleep for Babies Act (2022) bans padded crib bumpers and infant inclined sleep products with a sleep surface angle greater than 10 degrees. If someone gives you a bumper set as a shower gift, thank them and do not use it. Do not resell or donate it either: padded crib bumpers are illegal to sell, and passing one on puts another baby at risk.
The crib itself must meet current CPSC standards. If you’re using a hand-me-down, check the CPSC recall database before you put a baby in it. Older cribs may have slat spacing wider than 2–3/8 inches, decorative cutouts, or drop-side mechanisms, all of which have been associated with entrapment and suffocation deaths. When in doubt, buy new.
Unintentional suffocation kills roughly 1,000 infants under age 1 each year in the United States (CDC). The crib setup changes you can make today, a firm mattress, a bare sleep surface, a back-sleeping position, are among the highest-impact safety decisions you will make as a parent.
Furniture Tip-Over Prevention
When my older daughter was about 18 months old, I watched her grab the second drawer of her dresser and hang off it like a ladder rung. The dresser shifted forward about two inches before I got to her. We had anti-tip straps on the wall that day. If we hadn’t, I don’t want to think about what would have happened.
Furniture tip-overs send thousands of children to emergency rooms every year. Dressers are the most common culprit, but changing tables, bookshelves, wardrobes, and small nightstands can become tip hazards once a child learns to pull up or climb.
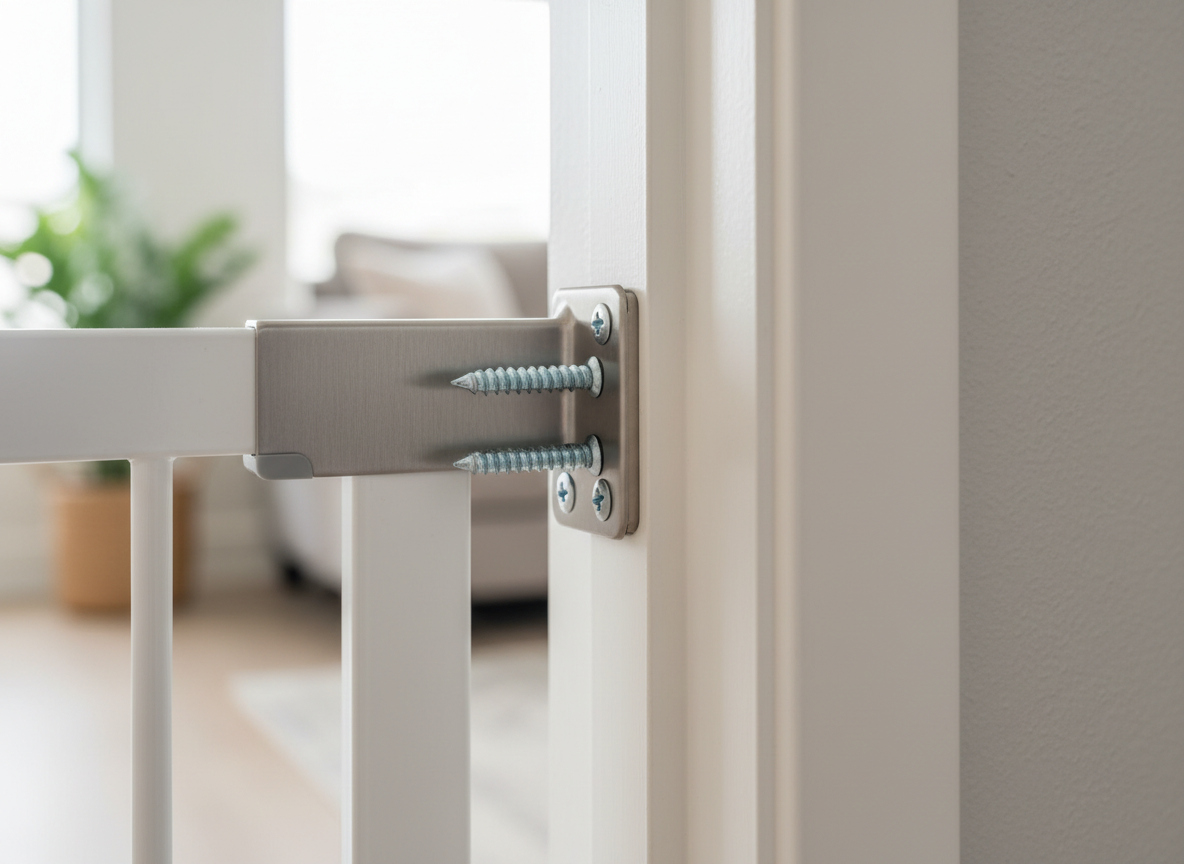
Every piece of freestanding furniture in the nursery needs to be anchored to a wall stud. Not drywall anchors alone. Studs. Use anti-tip straps or L-brackets rated for the furniture’s weight, and pull-test them after installation. The strap should have no meaningful give when you apply your full weight. If it does, reinstall it.
A few specifics worth noting:
- Dressers and wardrobes: Anchor at the top rear, into studs. Remove the top two drawers and check that the unit doesn’t lean forward when empty.
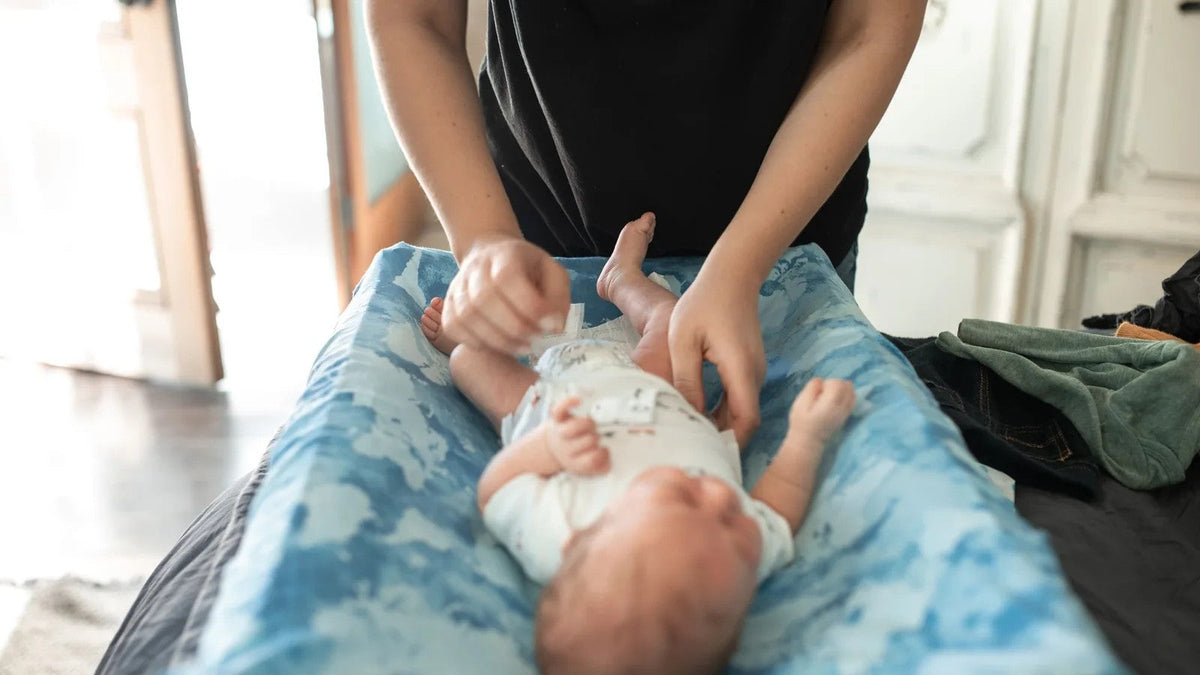
- Changing tables: ASTM F2388–21 is the mandatory federal safety standard for baby changing products, covering changing tables and contoured changing pads for children up to 30 lb. Look for this certification when purchasing. Anchor the table to the wall even if the manufacturer doesn’t require it.
- Shelving: Floating shelves and freestanding bookcases both need wall anchors. Keep decorative items and books off shelves within a child’s reach, both to prevent climbing and to eliminate projectile hazards if a shelf fails.
- Wall-mounted items: Framed art, mirrors, and clocks above the crib or changing area need to be secured with appropriate hardware. A picture hook is not appropriate for a 10-pound mirror positioned above a sleeping infant.


Window Covering Safety
Blind cords and drapery chains are a strangulation hazard. Cord strangulations happen quickly and silently.
The safest solution is to replace corded window coverings with cordless models. They’re widely available, work well, and eliminate the hazard entirely. If you’re renting or working with existing blinds, install cord cleats mounted high on the wall and use tension devices to keep any excess cord wound up and out of reach. The cord should never hang loose within a child’s reach, which means securing it at least 5 feet off the floor as a minimum, and higher if your child is tall for their age or has access to furniture they can climb.
Check every window in the nursery. Inner cords on older Roman shades and cellular blinds can form loops even when the shade appears to be pulled up. Run your hand along the back of any shade you’re keeping and look for cord loops that could tighten around a neck.
Temperature: Comfort and SIDS Prevention Together
The nursery temperature affects sleep quality and safety at the same time. The AAP does not set a specific room temperature. Its guidance is to dress your baby in no more than one layer more than you are wearing and to watch for signs of overheating, such as sweating or a hot chest. Many parents use 68–72°F (20–22°C) as a practical target. This range supports safe sleep by reducing overheating, which is a known SIDS risk factor, while keeping the baby comfortable enough to sleep well.
Dress your baby in a wearable blanket or sleep sack appropriate for the room temperature. A useful rule of thumb: one more layer than you’d wear comfortably in the same room. If you’re comfortable in a t-shirt, your baby needs a onesie plus a light sleep sack. If you’re cold enough for a sweatshirt, add a warmer sleep sack.
Do not use a space heater in the nursery. The fire risk and the difficulty of maintaining consistent temperature make them a poor choice for a baby’s room. If the room runs cold, address the underlying issue: check for drafts, add weatherstripping, or adjust your home’s heating zones.
A digital thermometer in the nursery is a small investment that takes the guesswork out of temperature management. I keep one on the dresser and check it during the last feed before bed. It takes five seconds and has saved me from overdressing both my daughters more times than I can count.
Electrical Safety
Outlets are at exactly the right height for curious hands. Every accessible outlet in the nursery needs to be addressed before your baby starts crawling, which happens faster than you expect.
Tamper-resistant receptacles (TRRs) are the most reliable solution. These have internal shutters that only open when equal pressure is applied to both slots simultaneously, making it nearly impossible for a child to insert a single object. If you’re doing any electrical work in the nursery, have TRRs installed. They meet current NEC requirements for new construction and are a permanent fix.
If you’re not replacing outlets, use outlet covers. Sliding plate covers are more effective than the small plastic plug-in caps, which can be pulled out and become choking hazards themselves. Look for covers that require two simultaneous actions to open.
Beyond covers, think about furniture placement as a secondary barrier. A dresser or bookcase positioned in front of an outlet adds a layer of protection. It’s not a substitute for covers, but it reduces the chance of casual contact.
Keep cords for lamps, monitors, and other nursery electronics tucked behind furniture or run through cord channels. A dangling cord is both a strangulation risk and an invitation to pull, which can bring whatever is on the other end crashing down.
Air Quality: Paint, Flooring, and Furnishings
Infants spend more time in their nursery than anywhere else in the home, often 16 or more hours a day in the early months. The air quality in that room matters more than in any other room you’ll babyproof.
Paint: Use low-VOC or zero-VOC latex paint for nursery walls. VOCs (volatile organic compounds) off-gas from fresh paint and can linger for weeks. If you’re painting close to the due date, finish at least two weeks before the baby comes home and ventilate the room thoroughly. If you’re in an older home, test for lead paint before sanding or disturbing any existing painted surfaces.
Flooring: Hard flooring with a low-VOC area rug is generally preferable to wall-to-wall carpet, which can harbor allergens and is harder to clean. If you’re installing new flooring, look for products certified by GREENGUARD Gold or a similar third-party program. New carpet and vinyl flooring both off-gas, so ventilate aggressively for several weeks after installation.
Furnishings: Pressed-wood furniture (MDF, particleboard) can off-gas formaldehyde. Look for CARB Phase 2 compliant labeling or solid wood alternatives. Wash all soft furnishings, curtains, crib skirts, and rugs before bringing them into the room.
Nightlights, Humidifiers, and Sound Machines
These are the devices that make nighttime parenting easier, and they’re also the ones that tend to end up in the wrong place.
The rule is simple: nothing with a cord or a heat source goes near the crib. Plug nightlights, humidifiers, and sound machines into outlets on the opposite side of the room from the crib, or at minimum, well away from any surface the baby could reach. Cords that run near the crib or along the floor near the sleeping area are entanglement hazards.
For humidifiers specifically, use a cool-mist model rather than a warm-mist or steam vaporizer. Warm-mist units pose a burn risk if a child or a tired parent knocks them over. Cool-mist units humidify just as effectively and don’t carry that risk. Clean the humidifier every two to three days to prevent mold and bacteria growth in the water reservoir.
Sound machines should be placed at least 7 feet from the baby’s head and kept at a volume below 50 decibels at the child’s ear level. The AAP has flagged high-volume white noise as a potential hearing concern for infants.
Smoke and Carbon Monoxide Detectors
Three out of five home fire deaths occur in homes with no smoke alarms or non-functioning ones (NFPA). A working smoke detector in the nursery is not optional.
Install a smoke detector inside the nursery or directly outside the door, following manufacturer guidance for placement. Combination smoke and CO detectors are available and cover both hazards with one device. CO poisoning kills more than 400 people each year and sends more than 100,000 to U.S. emergency rooms (CDC). Infants are particularly vulnerable to carbon monoxide because of their faster respiratory rate and smaller body mass.
Test both detectors monthly. I do it on the first of the month, when I’m already doing other household maintenance tasks. It takes 30 seconds. Replace batteries annually or when the low-battery chirp starts. Replace the units themselves every 7–10 years, or per manufacturer guidance, whichever comes first.
Nursery Safety Checklist
Closets, Drawers, and Pinch Points
Closet doors and dresser drawers become hazards in two distinct ways: finger pinching when a door or drawer closes on small hands, and climbing when a child figures out that open drawers make excellent ladder rungs.
For closet doors, soft-close hinges or door pinch guards on the hinge side eliminate the most common finger injury. Alternatively, remove the closet door entirely and use a curtain. It sounds unconventional, but it’s a practical solution that many parents prefer once they realize how often they’re opening the closet in the dark during nighttime feeds.
For dresser drawers, install drawer locks or use furniture with soft-close drawer mechanisms. More importantly, anchor the dresser to the wall as described in the furniture section above, because a child who opens all the drawers and climbs them will tip an unanchored unit.
Check for other pinch points in the nursery: the hinge side of the door to the room itself, the gap between the door and the frame, and the gap between the crib and the wall. Crib bumpers are not the answer to the last one. A crib positioned several inches from the wall is.
Choking Hazards and Small Objects
The nursery floor and lower shelves need to be treated with the same attention you’d give a play area. Anything smaller than 1–3/4 inches in diameter is a choking hazard for infants and toddlers. That includes:
- Small hardware from the crib assembly (keep all spare parts in a labeled bag stored out of reach)
- Decorative items on low shelves or windowsills
- Buttons, beads, or embellishments on soft toys or decorative pillows
- Batteries, especially button batteries, which cause severe internal burns if swallowed
Get down to floor level and look at the nursery from a baby’s perspective. You will find things you missed from standing height.
Keep the crib clear of any items that could fall in from nearby shelves or surfaces. A mobile positioned above the crib should be removed once the baby can push up on hands and knees, typically around 5 months.
Putting It All Together
A safe nursery is not a single purchase or a single afternoon of work. It’s a series of specific decisions made in the right order, and then revisited as your baby grows.
The bare crib that protected your newborn needs to be reassessed when your baby starts pulling to stand. The outlet covers that were adequate for a crawler need to be checked again when your toddler starts using tools.
Use this guide as a starting checklist, not a one-time task. Walk through the nursery every few months with fresh eyes and ask what has changed. Your baby’s reach, mobility, and problem-solving ability will surprise you. The room should keep up with them.