Nursery Furniture Arrangement for Maximum Safety

The room looks perfect in the photos. Soft paint, coordinating furniture, a glowing nightlight in the corner. Then you bring your baby home and realize the beautiful dresser is positioned directly under the window, the cord from the roman shade hangs exactly at crib height, and the only path to the crib at 3 a.m. runs through a maze of a rocking chair, a floor lamp, and a laundry basket. The nursery you designed for aesthetics now has to become a nursery designed for safety.
These two goals aren’t incompatible. But safety has to come first, and that means thinking about furniture placement the way a safety inspector would, not an interior designer.
Start with the Crib, Because Everything Else Arranges Around It
The crib is the most consequential piece of furniture in the room. Your baby will spend more hours there than anywhere else, and most of the serious hazards in a nursery cluster around it.
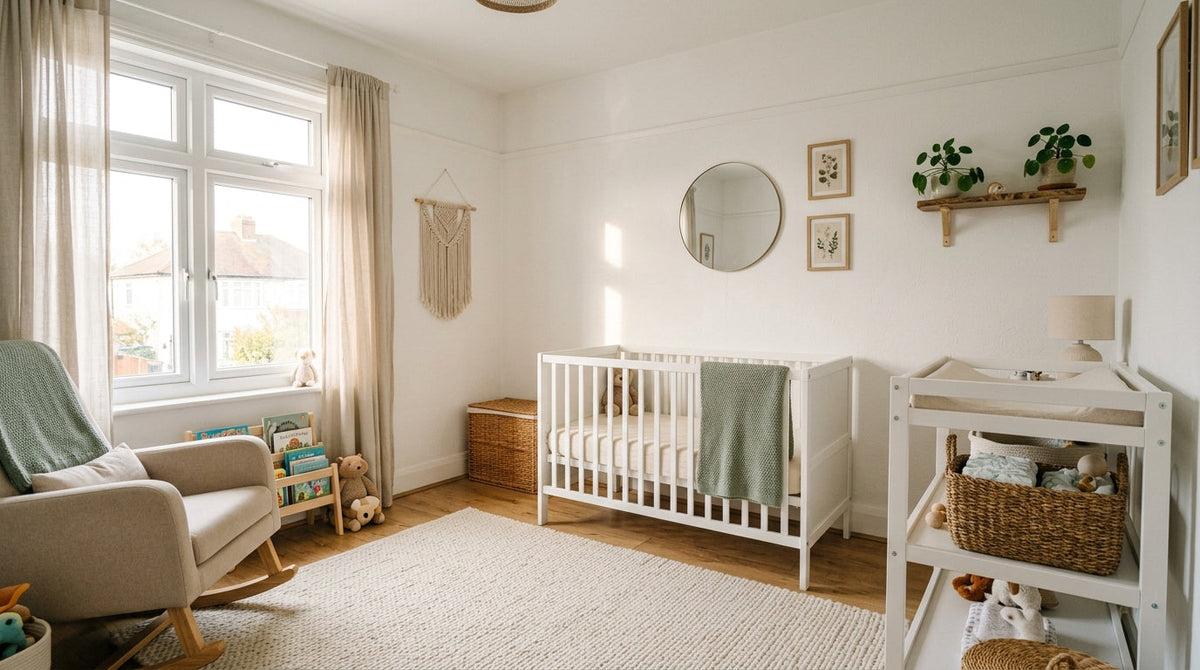
Keep the crib away from windows. This is the rule I hear parents dismiss most often, usually because the window wall is the natural focal point of the room. But windows create multiple overlapping hazards. Cords from blinds or shades can hang within reach. Drafts cause temperature swings that disrupt sleep and can contribute to overheating or chilling. Direct sunlight can raise the temperature inside the crib significantly in summer months. And if a window is ever left open, a screen is not a fall barrier.
Position the crib on an interior wall, away from all windows. If the room layout makes this impossible, use cordless window coverings and keep the crib at least 2 feet from the window itself.
Keep 2 feet of clearance on all sides. This is not just about the window. A baby who rolls against a wall, a dresser edge, or a nightstand can become wedged in a gap. As babies grow into toddlers, that clearance also limits what they can grab onto to climb out. Two feet of open space around the crib is the standard I work from, and I recommend it consistently.
Remove heat sources from the crib’s proximity. Radiators, heating vents, space heaters, and even sunny windows can raise the ambient temperature around a sleeping infant. The AAP is clear that overheating is a risk factor in sleep-related infant deaths. Temperature management in the sleep environment is part of the prevention picture. Keep the crib away from any direct heat source.
The Cord Problem Is Bigger Than You Think
A cord is a tripping hazard for caregivers, and a strangulation risk for infants. These are not theoretical concerns.
The CPSC recommends keeping all window covering cords out of reach of children, secured at least 6 feet above the floor. In a nursery, I go further: eliminate cords entirely wherever you can. Cordless blinds and shades are widely available at every price point, and they remove the hazard rather than managing it. If you have corded blinds in the nursery right now, replacing them before the baby arrives is worth the cost.
Monitor cords, lamp cords, and baby monitor cables also need to be routed and secured. I use cord clips along the baseboard to keep them flat against the wall and out of the floor space where a crawling baby will eventually explore. Run cords behind furniture when possible. If a cord has to cross open space, it needs to be enclosed in a cord cover.
In my experience, cords tucked behind furniture can still be found by a determined toddler. I once found my daughter pulling on a baby monitor cord that was supposedly secured behind a dresser; I rerouted it immediately.


Anchor Everything Tall
CPSC reports one child death every two weeks from furniture, TV, or appliance tip-overs. That number is not a distant statistic when you picture a toddler using a dresser drawer as a step stool.
Every tall piece of furniture in the nursery needs to be anchored to the wall. Dressers, bookcases, shelving units, armoires, and changing tables with hutch attachments all qualify. Use anti-tip straps or L-brackets rated for the weight of the piece, and anchor into a wall stud, not just drywall. The CPSC has published guidance on this, and it is unambiguous: anchor tall furniture.
Anti-tip straps take about 20 minutes per piece to install and disappear behind the furniture, with no aesthetic cost.
One practical note: if you’re renting and hesitant to put holes in walls, talk to your landlord. Most will allow it for safety purposes, especially if you offer to patch the holes when you move. A small repair is a reasonable trade for preventing a tip-over.
The Changing Table Deserves Its Own Safety Logic
The changing table is where a surprising number of nursery injuries happen. Falls from changing surfaces send thousands of children to emergency rooms each year. The height that makes diaper changes easier for your back is exactly what makes an unattended roll dangerous.
Position the changing table against a wall. This gives you a fixed edge on one side and limits the directions a baby can roll. It also gives you a surface to brace against if you need a free hand.
Never leave a baby unattended on the changing surface. I know you’ve heard this. I also know that the doorbell rings, the phone buzzes, and the older sibling suddenly needs something urgent. Keep everything you need within arm’s reach before you place the baby on the table. Diapers, wipes, a clean outfit, the diaper cream. If you have to leave, take the baby with you.
ASTM F2388–21 is the mandatory federal safety standard for baby changing products, covering changing tables and contoured changing pads for children up to 30 lb. When you’re buying a changing table or pad, look for ASTM F2388–21 compliance on the packaging. It covers restraint systems, structural integrity, and side barrier requirements.
Ensure adequate lighting at the changing table. You need to see clearly during every diaper change, including the 2 a.m. ones. A dimmable overhead light or a dedicated changing table lamp lets you inspect your baby’s skin without flooding the room with harsh light that disrupts sleep for everyone.
Plan Your Path Before You Need It
At 3 a.m., you are not fully awake. You are moving on memory and muscle. The path from your bedroom door to the crib needs to be clear enough to walk without turning on a light.
Walk it now, in the dark. Literally. Note every obstacle: the corner of the glider, the edge of the rug, the laundry hamper you keep meaning to move. Eliminate what you can. Push the glider flush against the wall. Choose a rug with a non-slip pad underneath. Move the hamper to a corner that isn’t in the path.
This is also an emergency consideration. If there’s ever a fire or another situation where you need to reach your baby quickly, a clear path matters. Clutter on the floor is a fall risk when you’re calm; it’s a serious hazard when you’re not.
Nursery Safety Checklist
Low Surfaces and What Lives on Them
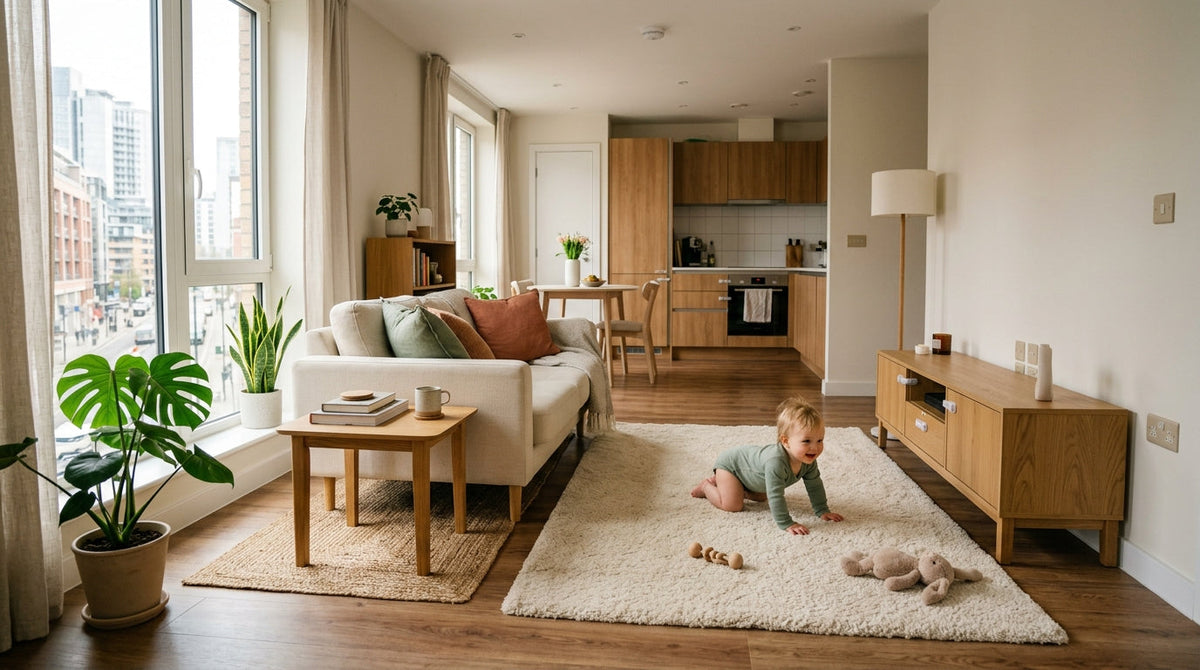
Once your baby is mobile, everything at floor level and below about 3 feet is accessible. Crawling babies are faster than you expect. Crawling babies can empty low shelves quickly. Small board books are fine. The batteries from the baby monitor remote that had rolled behind them were not.
Keep small objects, batteries, and anything that could be a choking hazard off low shelves and surfaces. Store them in drawers with magnetic or keyed locks, or in cabinets positioned high enough that a climbing toddler can’t reach them.
Choose furniture with rounded edges. Sharp corners on dressers, nightstands, and shelving units are a real injury risk for a child learning to pull up and walk. If you already own furniture with sharp corners, edge guards are an inexpensive fix. Inspect all furniture regularly for loose bolts, splinters, or hardware that has worked loose. A wobbly drawer pull can become a pinch point or a choking hazard.
Mobiles, Artwork, and Hanging Items
A mobile above the crib is a classic nursery fixture, and it’s fine for a newborn. The AAP recommends removing mobiles once a baby can push up on hands and knees, which typically happens around 5 months. At that point, a mobile within reach is something to grab, pull, and potentially bring down.
Apply the same thinking to wall art, shelves mounted above the crib, and decorative items hung near the sleep space. If it can fall into the crib, it shouldn’t be positioned above it. Secure wall art with appropriate anchors, not just the picture wire and a finishing nail that came with the frame.
The Floor Is Part of the Room
A clear floor isn’t just about aesthetics. Toys, blankets, and clutter on the nursery floor create trip hazards for caregivers who are tired, moving quickly, or carrying a baby. They also create a landscape that a mobile baby can get into trouble with fast.
Keep the floor clear during sleep times. Designate a basket or bin for toys that gets used during awake time and emptied before naps. A non-slip rug under the glider or rocker is worth having; a rug with curled edges in the middle of the floor is not.
The nursery you use every day should be as functional at midnight as it is at noon. Clear sightlines, clear paths, and furniture that stays where you put it are the foundation of a room that keeps your baby safe through every stage of the first years.