Why Won't My Baby Gate Latch? Common Fixes for Every Brand

About 93,000 children under 5 are treated in U.S. emergency rooms each year for stair-related injuries (Nationwide Children’s Hospital analysis of CPSC NEISS data). A baby gate is the single most direct intervention between your child and those stairs. So when the latch stops working, it stops being a gate. It becomes a prop.
This is not a "fix it when you get around to it" situation. A gate that looks closed but isn’t latched gives you false confidence, which is worse than no gate at all. Here’s how to figure out what’s wrong and get it working again.
Start Here: Level and Plumb Before Anything Else
Before you touch a screw or order a replacement part, grab a spirit level. Hold it against the gate frame, both horizontally and vertically. Even a slight tilt, something you’d never notice by eye, can prevent the latch from seating cleanly into the strike plate. The latch arm and the strike plate opening need to line up within a very small margin. When the frame tilts, they don’t.
In my experience, a hardware-mounted gate at the top of stairs developed a 2-degree lean after a wall anchor worked loose, causing the latch to miss the catch intermittently. Leveling and retightening the anchor fixed it.
If the gate is out of plumb, identify why before you do anything else. Loose mounting hardware is the most common cause, and it’s the easiest fix.
Pressure-Mount Gates: Tension Is Everything
Pressure-mount gates work by wedging themselves between two surfaces. If the latch won’t engage, the first question is whether the gate has enough tension against those surfaces to hold its geometry.
Check the mounting brackets. If they’ve shifted, even slightly, the gate frame can rack, pulling the latch out of alignment with the strike plate. Extend the pressure feet until they’re firmly against the wall on both sides, then test the latch. If the walls are uneven, textured, or covered in trim molding, the pressure feet may not be making solid contact.
Trim molding is a specific problem. The angled profile of door casing means the pressure foot is bearing on a narrow, sloped surface instead of a flat wall. This causes the gate to sit at an angle and the tension to be uneven. Use rubber shims or flat mounting pads to create a flush surface. Most gate manufacturers include these or sell them separately.
Also check that you’re within the gate’s stated width range. A gate installed at the very edge of its expansion range won’t hold tension consistently. If your doorway is borderline, an extension panel is the right fix.
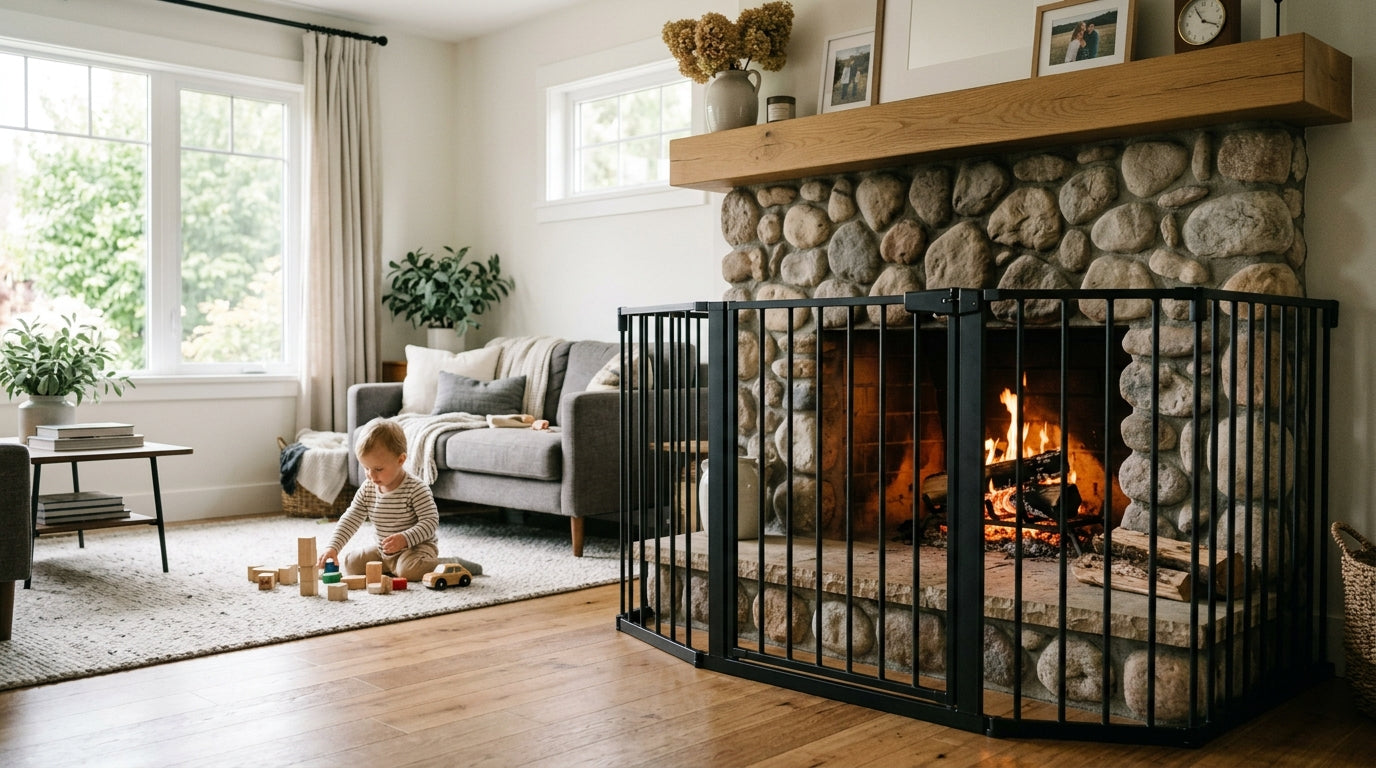
One more thing: pressure-mount gates should never be used at the top of stairs. That’s not a troubleshooting note, it’s a hard safety rule. At the top of stairs, hardware-mounted only.


Hardware-Mounted Gates: Alignment and Fastener Tightness
Hardware-mounted gates are anchored to wall studs or solid door frames with screws. They’re more stable, but they’re not immune to problems.
Loose screws are the most common culprit. Daily use creates vibration, and vibration loosens fasteners over time. Work through every visible screw on the mounting brackets and the strike plate systematically. Don’t just snug them. Use a screwdriver and apply real torque. If a screw spins without biting, the anchor has stripped. Replace it with a longer screw or a wall anchor rated for the application.
If the screws are tight and the latch still misses, the strike plate may have shifted. Wall settling, humidity swings, and even minor impacts can move it enough to matter. Loosen the strike plate screws, hold the gate closed in its correct latched position, and mark where the latch arm lands. Reposition the strike plate to match, then retighten.
Humidity deserves its own mention. Wood door frames swell in summer and shrink in winter. A gate that latched perfectly in March may bind or miss entirely by August. Seasonal adjustments, either repositioning the strike plate or slightly loosening the mounting brackets to let the gate shift with the frame, are sometimes necessary. It’s annoying. It’s also just how wood behaves.
-
Check Level and Plumb
Use a spirit level on the gate frame horizontally and vertically. Even a 2-degree lean can prevent the latch from seating in the strike plate. -
Tighten All Fasteners
Work through every screw on mounting brackets and the strike plate. Apply real torque. Replace any screw that spins without biting. -
Realign the Strike Plate
Hold the gate in its latched position and mark where the latch arm lands. Reposition the strike plate to match, then retighten. -
Clean the Latch Mechanism
Clear debris from the latch slot with a dry toothbrush or compressed air. Use isopropyl alcohol for sticky residue. Avoid oil-based products. -
Inspect for Physical Damage
Look for cracks, bends, or deformation on the latch arm and strike plate. A damaged latch means the gate is out of service until repaired. -
Order Parts or Replace
Contact the manufacturer with your model number and the specific damaged part. Latch assemblies and cartridges often cost far less than a new gate.
Retractable Gates: Clean the Mechanism First
Retractable gates use a spring-loaded cartridge inside the housing. When the latch sticks, won’t catch, or requires excessive force, the mechanism inside the cartridge is usually the problem.
Start by inspecting the latch slot and the area around it for debris. Dust, dried cleaning product residue, and small particles can jam a spring-loaded mechanism completely. Use a dry toothbrush or compressed air to clear the slot. If there’s sticky residue, a small amount of isopropyl alcohol on a cotton swab works well. Avoid anything oil-based, which attracts more debris.
If the latch arm itself looks bent or the cartridge housing is cracked, cleaning won’t fix it. Most retractable gate manufacturers sell replacement cartridges. This is worth doing rather than replacing the whole gate, especially if the mounting hardware is solid and the mesh is undamaged.
In my experience, a retractable gate with a bent latch arm inside the cartridge appeared fine externally but wouldn’t catch. A replacement cartridge from the manufacturer cost around $18 and took ten minutes to swap.
When the Gate Swings Open on Its Own
If the latch engages but the gate drifts open, the problem is usually the hinges, not the latch. Worn or loose hinges allow the gate frame to sag, which means the gate doesn’t hang plumb and gravity pulls it open.
Tighten the hinge screws first. If the hinges are tight but the gate still sags, the hinge pins may be worn. Some manufacturers sell replacement hinges. If the gate frame itself has warped from heat or humidity, no amount of hinge adjustment will fix it. A warped frame is a gate that needs to be replaced.
The Latch Itself Is Damaged: Parts vs. Replacement
Visually inspect the latch arm and the strike plate opening. Look for cracks, bends, or any deformation. A bent latch arm usually means the gate took an impact, either from a child pulling on it or from being forced closed when it wasn’t aligned.
CPSC guidance is clear: any gate with a faulty latch should be taken out of service immediately. A gate that appears closed but isn’t latched is more dangerous than an open gate because it creates the impression of a barrier that doesn’t exist.
Before assuming you need a new gate, contact the manufacturer with the model number and a description of which part is damaged. Latch assemblies, strike plates, and cartridges are commonly available as replacement parts and cost a fraction of a new gate. When you call or email, be specific: say "the latch arm is bent" or "the strike plate is cracked," not just "the latch doesn’t work." That specificity gets you to the right part faster.
The Federal Standard Your Gate Should Meet
ASTM F1004 is the federal safety standard for expansion gates and expandable enclosures, made mandatory under 16 CFR Part 1239 (effective 2021). If your gate was purchased after that date, it should meet this standard. If you’re working with an older gate that’s been repaired multiple times, it’s worth checking whether the original product was compliant and whether repeated repairs have compromised any of the structural requirements the standard addresses.
A gate that’s been shimmed, re-anchored, and had its latch replaced twice is a gate worth scrutinizing carefully. Sometimes the right answer is a new one.
A Methodical Approach Saves Time
When the latch fails, resist the urge to start randomly tightening things. Work through this sequence: check level and plumb, check fastener tightness, check strike plate alignment, inspect the latch mechanism for damage, then address the specific failure. Document what you find. If you end up calling the manufacturer or a hardware store, knowing exactly which component failed and why gets you to a solution faster than describing symptoms.
A functioning latch is not optional. It is the gate’s entire job.