
Carbon Monoxide Detector Placement: Protecting Baby While They Sleep

Carbon monoxide poisoning kills more than 400 people each year and sends more than 100,000 to U.S. emergency rooms (CDC). An infant sleeping in the next room cannot smell the gas, cannot feel the headache building, and cannot call out for help.
In my experience, the invisible hazards are the hardest to address. My younger daughter was about three months old when I first walked through our house thinking about CO risk. I spent an afternoon repositioning every detector we owned and adding two more.
Why Babies Face Unique Risk from Carbon Monoxide
Carbon monoxide is colorless and odorless. There is no warning before it reaches dangerous concentrations. Adults may notice headache, dizziness, or nausea and connect those symptoms to something being wrong. Infants cannot. They cannot communicate that they feel unwell, and their smaller bodies and faster respiratory rates mean CO accumulates in their bloodstream more quickly than in an adult’s.
Homes with attached garages, gas furnaces, water heaters, fireplaces, or older combustion appliances carry the highest baseline risk. But even a well-maintained home can develop a problem: a cracked heat exchanger, a blocked flue, a generator running too close to a window. The only reliable protection is a functioning detector placed correctly.
Where to Put Detectors: The CPSC Baseline
CPSC recommends a CO alarm on every level of the home and outside each separate sleeping area. That’s the floor, not the ceiling of your planning. For most families with a baby, it means at minimum: one detector on each floor and one in the hallway directly outside the nursery door.
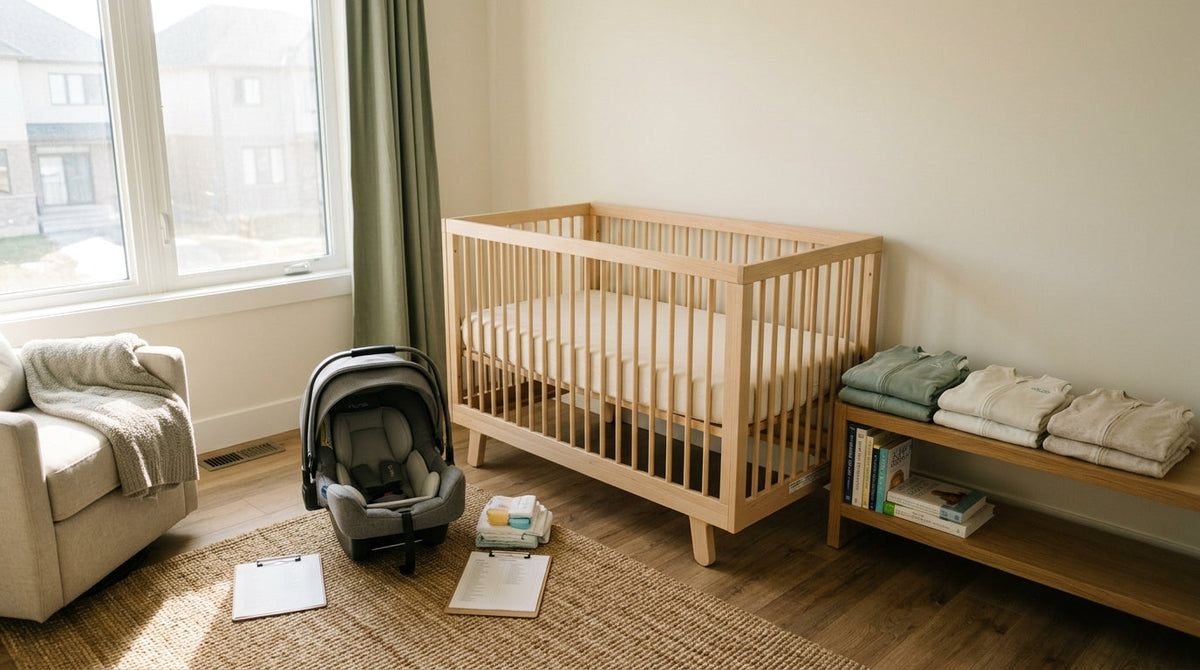
If your baby sleeps in your room, that room needs its own detector, not just the hallway unit. CO concentrations can vary between rooms depending on airflow, door position, and proximity to the source. A detector outside a closed door may not alarm quickly enough to wake you if the source is inside or adjacent to that room.
Start with the CPSC minimum and then add based on your home’s layout. In my experience, a two-story house benefits from four detectors: one in the basement near the furnace and water heater, one on the main floor, one in the hallway outside the bedrooms, and one inside the room where an infant sleeps.


Height and Distance: Getting Placement Right
CO disperses evenly throughout a room, unlike smoke, which rises. That means height matters less for CO detection than it does for smoke. Wall-mounted detectors should sit 4–6 feet above the floor, which puts them at roughly eye level. That height keeps them visible for the test button and readable if your unit has a digital display.
Keep detectors 5–40 feet away from combustion sources like furnaces, water heaters, fireplaces, and gas ranges. Too close and normal operation can trigger nuisance alarms. Too far and the detector may not respond quickly enough if a problem develops.
Avoid placing detectors near windows, exterior doors, or HVAC vents. Drafts can dilute CO before it reaches the sensor, slowing the alarm. Avoid bathrooms and kitchens as well. Steam and cooking fumes can trigger false alarms, which is its own problem: parents who experience repeated false alarms start ignoring them.
When the CO Alarm Sounds
-
Evacuate immediately
Get every person and pet out of the house right now. Do not stop to investigate or gather belongings. -
Move to fresh air
Go outside and away from the building. Do not re-enter for any reason. -
Call 911 from outside
Make the call once you are clear of the building. Emergency services will identify the source. -
Wait for clearance
Do not re-enter until emergency services confirm the building is safe and the source is resolved.
Choosing the Right Detector for a Nursery
The three main types are battery-powered, plug-in with battery backup, and hardwired with battery backup. All three can work well. What matters more than power source is whether the unit has a digital display.
A detector that shows you a CO concentration in parts per million (ppm) is more useful than one that only sounds an alarm. Low-level chronic exposure, in the range of 35–70 ppm, may not trigger an alarm on some units but is still harmful over time, particularly for infants. A display lets you see whether you’re looking at a minor ventilation issue or an emergency requiring immediate evacuation.
For a nursery specifically, I’d prioritize a unit with a digital display and battery backup. Power outages don’t pause CO risk.
Combination smoke and CO detectors are worth considering for a nursery if you’re mounting a single unit. They meet both safety needs without adding another device to the ceiling or wall, which matters in a small room where you’re already managing a monitor, a sound machine, and a humidifier.
Maintenance: Testing and Replacement Schedules
A detector you haven’t tested is a decoration.
Test every detector monthly by pressing the test button for 3–5 seconds until the alarm sounds. Do this with older children present if you have them. Children who recognize the CO alarm sound and know the evacuation plan are better prepared to respond in an emergency.
Battery replacement schedules depend on the unit type. Battery-powered detectors need new batteries every 6 months. Plug-in models with battery backup follow the same 6-month schedule for the backup battery. Hardwired units with battery backup need battery replacement annually. Write the replacement date on a piece of tape on the back of the unit. You will not remember otherwise.
Detectors also have a lifespan. Sensors degrade over time regardless of how well you maintain the unit. Most manufacturers recommend replacement every 5–7 years. Check the expiration date printed on your detector. If there isn’t one, check the manufacture date and count forward. Note the installation date on the device with a permanent marker when you put it up.
What to Do When the Alarm Sounds
Evacuate immediately. Do not stop to investigate. Do not assume it is a false alarm.
Get everyone out of the house, including pets, and move to fresh air. Call 911 from outside. Do not re-enter until emergency services have cleared the building and identified the source.
This is worth rehearsing with older children and any regular caregivers. A babysitter who has never heard your CO alarm and doesn’t know the plan is a gap in your safety system. Walk them through it. Show them where the detectors are. Tell them the rule: alarm sounds, everyone leaves, call 911.
Even low-level chronic CO exposure carries risk for infants, whose developing neurological systems are more vulnerable than adults’. If your detector shows elevated readings without triggering a full alarm, ventilate the home by opening windows and doors, get the baby into fresh air, and call your gas utility or a licensed HVAC technician before assuming the problem is resolved.
CO Detector Maintenance Checklist
Special Situations That Raise Your Risk
Attached garages are one of the most common CO sources in residential settings. A car idling for 30 seconds in an attached garage can push CO into the living space. If your nursery or any sleeping area shares a wall with an attached garage, that room needs its own detector.
Portable generators are another significant source. Generators should never run inside a garage, even with the door open. Place them at least 20 feet from any window, door, or vent. If you use a generator during a power outage, verify that all your CO detectors have functioning battery backup before you start it.
Portable grills and camp stoves belong outside, full stop. These are not edge cases. CO poisoning incidents from indoor grill use spike during winter storms when people are improvising heat or cooking sources.
Building a Whole-Home CO Safety Plan
Walk your home with a notepad. Mark every level. Mark every sleeping area. Mark every combustion appliance. Then map where your detectors currently are and compare that against the CPSC baseline: every level, outside every sleeping area.
Add detectors where you have gaps. Mount them at 4–6 feet on the wall. Keep them away from drafts, steam, and cooking fumes. Note the installation date on each one. Set a recurring calendar reminder for monthly testing and biannual battery replacement.
If your home has a gas furnace, have it inspected annually by a licensed technician. A cracked heat exchanger is one of the most common sources of indoor CO and one of the most preventable. The inspection cost is small relative to the risk.
CO detectors are not expensive. A quality unit with a digital display runs $25–$50. Full coverage of a three-bedroom home costs less than a single pediatric urgent care visit. The math is easy. The installation takes an afternoon. Do it before you need it.