
Non-Slip Stair Treads for Baby Safety: Material and Installation Guide

Roughly one child every six minutes is treated for a stair-related injury in a U.S. emergency room. That number, drawn from a Nationwide Children’s Hospital analysis of CPSC NEISS data, represents about 93,000 children under 5 per year. If you have a crawler or a new walker at home, stairs are not a background risk. They are the floor of your house, and your child is heading for them.
Non-slip treads are one layer of protection in that equation. Not the only layer, and not a substitute for gates, handrails, or supervision. But the right tread, properly installed, removes one of the most preventable variables: a smooth surface that offers nothing for a small foot or a crawling knee to grip.
Why Stairs Injure Young Children
Toddlers and crawlers fall on stairs for overlapping reasons. Slipping is one. But poor lighting, no handrail at child height, and unsupervised access are equally common factors. A non-slip tread addresses the friction problem. It does nothing for the other three.
That distinction matters because parents sometimes install treads and consider the job done. It isn’t. Treads work best as part of a system: a gate at the top and bottom of the staircase for children under 2, adequate lighting on every landing, and a low handrail or rope guide your child can reach. Treads fill the gap when a child is old enough to use the stairs with supervision but still developing the balance and coordination to do it safely.
In my experience, children start climbing stairs independently around 22 months. Treads on finished wood stairs provide grip that bare wood does not, especially for sock-covered feet.
Material Guide: Rubber, Silicone, Vinyl, and Acrylic
Rubber treads are the most durable option and provide the best grip across conditions. They compress slightly underfoot, which gives a crawler’s palm or a toddler’s sock-covered foot real purchase. They hold up in damp environments, which makes them the right call for basement stairs or any staircase that sees wet feet. The tradeoff is appearance. Rubber treads are utilitarian. If your stairs are a design feature in your home, you may find the look difficult to accept.
Silicone treads perform similarly to rubber in wet conditions and are generally thinner, which reduces the edge-catching risk. They clean easily. Some silicone products are clear or nearly clear, which makes them less visually intrusive on wood stairs. Thinner silicone treads require more careful surface prep than rubber, and they’re more likely to peel at the corners over time if the stair surface has any texture or finish irregularity.
Textured vinyl treads are the most common option in the mid-price range. They work well in dry conditions, come in a wide range of sizes, and are straightforward to clean. They are not the right choice for a basement staircase that sees any moisture. In wet conditions, vinyl can become slippery in ways that defeat the purpose entirely.
Acrylic and carpet treads sit at opposite ends of the spectrum. Acrylic options are often clear, low-profile, and designed for finished wood stairs. Carpet treads add cushioning, which matters if your child falls on the stairs rather than down them. Carpet also traps dirt and is harder to keep sanitary with a crawling infant. For a home with a baby who is still putting hands and knees on every surface, I’d lean toward rubber or silicone over carpet.
Stair Tread Material Comparison
| Material | Wet Grip | Durability | Appearance | Best For |
|---|---|---|---|---|
| Rubber | Excellent | Excellent | Utilitarian | Basement, high traffic |
| Silicone | Excellent | Good | Low-profile, clear options | Finished wood stairs |
| Vinyl | Poor when wet | Good | Wide range | Dry interior stairs |
| Acrylic | Moderate | Moderate | Nearly invisible | Decorative wood stairs |
| Carpet | Good dry | Moderate | Traditional | Cushioning priority |
Adhesive vs. Screw-Down Installation
Most residential stair treads use one of two attachment methods. Each has real tradeoffs.
Adhesive-backed treads bond directly to the stair surface. When installed correctly, they stay put through years of foot traffic. The installation is straightforward: clean the surface, let it dry completely, peel the backing, press firmly, and allow the adhesive to cure before use. The problem is removal. Adhesive treads on finished wood can pull up the finish or leave residue that requires a solvent to remove. If you’re renting, check your lease before you install anything adhesive-backed.
Some manufacturers sell adhesive treads marketed as "residue-free" or "renter-friendly." These use a lower-tack adhesive that releases more cleanly. The tradeoff is grip. Lower-tack adhesive means the tread itself is easier to pull up, which is convenient for removal but also means it’s more likely to lift at the edges under heavy use. Lower-tack adhesive treads can show corner lifting within weeks of installation. They’re adequate for light-traffic areas. For a main staircase with daily use, I’d choose a stronger adhesive and accept the removal challenge.
Screw-down treads are more secure and can be repositioned if you need to adjust placement. The installation requires drilling, which rules them out for renters and for anyone with stairs that can’t be modified. The protrusions from screws or fasteners are small but real. Inspect them periodically. A raised screw head can catch the toe of a sock or the corner of a toy being dragged up the stairs, which creates a new hazard rather than eliminating one.


Getting the Width Right
Tread width is where many parents make a mistake that turns a safety product into a tripping hazard.
The tread needs to cover the full depth of your stair step, from the riser to the nose. If the tread stops short of the front edge, you’ve created a small uncovered strip right where a foot lands first. That strip is often the smoothest part of the step, especially on wood stairs that have been finished or polished. A child stepping onto that edge and then onto the tread hits two different friction surfaces in the same stride.
Measure your stair depth before you buy. Standard residential stair treads run 10–11 inches deep, but older homes and custom staircases vary. Buy treads that match or slightly exceed your stair depth. If you can’t find an exact match, a tread that runs slightly long and wraps the nose is preferable to one that falls short.
Width across the stair (side to side) matters less for safety than depth, but a tread that covers most of the stair width gives a child more landing area to work with.
Adhesive Tread Installation: Quick Reference
-
Clean the surface
Wipe each step with isopropyl alcohol to remove dust, oils, and any cleaning product residue. -
Dry completely
Wait until the surface is fully dry, not just damp. Any moisture will weaken the adhesive bond. -
Check the temperature
Install only when the stair surface is between 60–80°F (16–27°C) for reliable adhesion. -
Peel and press
Remove the backing, align the tread to cover the full stair depth, and press firmly along the entire length. -
Cure before use
Keep the stairs off-limits for 24–72 hours, or the full cure time listed by the manufacturer.
Surface Preparation: The Step Most People Skip
The single biggest predictor of whether adhesive treads stay down is surface preparation. Not the brand. Not the price. The prep.
Stairs collect fine dust, cleaning product residue, and the oils from bare feet. All of these reduce adhesive bond strength. Before installing any adhesive-backed tread, clean the surface with isopropyl alcohol and let it dry completely. Not damp. dry. If you’ve recently applied any wood conditioner, wax, or polish to your stairs, the adhesive will not bond reliably to that surface regardless of how well you clean it.
Temperature matters too. Most adhesive products bond best between 60–80°F (16–27°C). Installing treads in a cold garage staircase in winter, or on stairs that get direct sun and heat up significantly, can compromise the initial bond.
Press the tread firmly along its entire length, not just at the edges. Use a roller or the heel of your hand with real pressure. Allow the full cure time listed by the manufacturer before letting anyone use the stairs, which is typically 24–72 hours.
Before You Buy: Evaluation Checklist
Safety Standards and Chemical Considerations
When you’re evaluating products, look for treads that meet ASTM F1679 standards for slip resistance. This standard uses a portable tester to measure the coefficient of friction on a surface. It’s not a perfect proxy for how a tread will perform under a toddler’s sock, but it’s a meaningful baseline. Products that list compliance with ASTM F1679 have been tested against a defined friction threshold.
For homes with infants who are still mouthing surfaces, check the product’s material safety documentation for phthalates. Phthalates are plasticizers used in some vinyl and rubber products. They’re a concern for infants who put hands and objects in their mouths, and they appear on restricted substance lists for children’s products in several states. Many manufacturers now explicitly label their treads as phthalate-free. If the product doesn’t say, contact the manufacturer before installing.
Treads Are One Layer, Not the Whole System
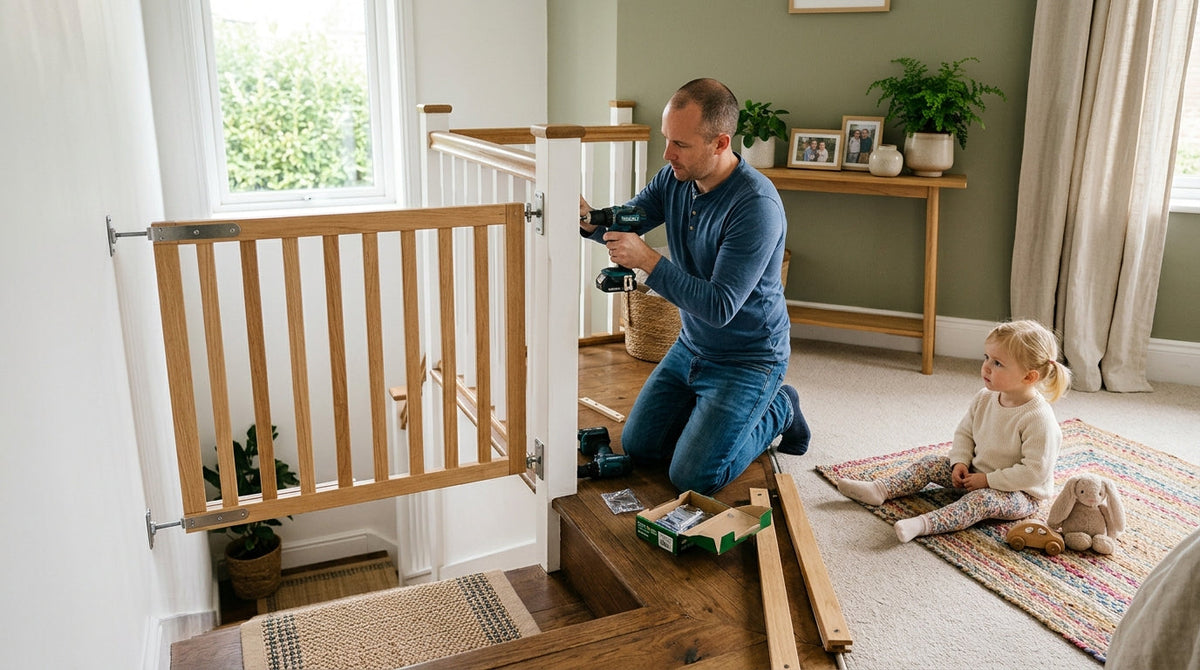
The American Academy of Pediatrics recommends that stair gates remain in place for children under 2. Treads do not change that recommendation. A tread reduces slip risk for a child who is already on the stairs. It does nothing to prevent a 14-month-old from crawling to the top step unsupervised.
A child who gains unsupervised access to stairs will reach them faster than a parent can respond. Treads address friction, not access. Gates address access.
Gates address access. Treads address friction. Handrails at child height (typically 28–32 inches from the stair surface for young children) address balance. Adequate lighting addresses visibility. Stair safety requires all of these working together, and removing any one of them leaves a gap the others can’t fill.
Inspect your treads every few months. Look for lifted corners, cracking, or any separation from the step surface. A tread that has started to peel is more dangerous than no tread at all, because it creates an uneven surface and a raised edge that can catch a foot mid-stride. Replace them at the first sign of failure, not after.