Nursery Changing Station Safety: Preventing Falls and Organizing Supplies

Every diaper change feels routine until the one that isn’t. A squirming eight-month-old, a missing wipe, a half-second of distraction, and suddenly you’re lunging across the room. Falls from changing height cause head injuries and fractures. Most happen to caregivers who knew the risks and got comfortable anyway.
The good news is that changing station safety is almost entirely within your control. The right setup, the right habits, and a few minutes of regular maintenance can eliminate most of the risk.
Choose a Changing Table That Meets Federal Standards
Start with the table itself. ASTM F2388–21 is the mandatory federal safety standard for baby changing products, covering changing tables and contoured changing pads for children up to 30 lb (13.6 kg). Any changing table sold new in the United States must comply. But "compliant when sold" and "safe in your nursery right now" are two different things. Check for a certification label before you buy, and be cautious with secondhand tables, which may predate the standard or have sustained damage you can’t see.
Beyond certification, look at the physical design. A wide, stable base with four-point floor contact is essential. Narrow tables and anything on wheels shift when weight is unevenly distributed, which happens every single diaper change as your baby twists and you lean. A 2-inch (5 cm) guardrail on all four sides of any changing table is recommended. That guardrail is not a substitute for your hand, but it buys you a fraction of a second if something goes wrong.
Weight capacity matters more than most parents realize. Check the table’s rated limit before use, and check it again as your child grows. Exceeding capacity doesn’t just stress the joints. It can cause structural failure mid-change, which is a scenario with no good outcomes. If your child is approaching the limit, transition to floor changes on a mat.
Secure the Table to the Wall
A changing table can tip forward when a caregiver leans across it, especially toward the end of a change when you’re reaching for a fresh outfit. It can also tip if an older sibling grabs the edge or bumps into it. Anti-tip straps or wall brackets cost very little and take about twenty minutes to install. They are not optional.
Position the table against a wall or in a corner when possible. This limits the number of sides from which a fall can happen and gives the table a natural backstop. If your nursery layout doesn’t allow a corner placement, the wall bracket matters even more.
In my experience, a compliant table can still shift. I skipped the anti-tip strap for three weeks, planning to install it later. When I leaned across to reach a onesie, the front legs lifted slightly off the floor. The strap went in that afternoon.


The Changing Pad: Firm, Bordered, Strapped
The changing pad is where most of the contact happens, and it deserves as much scrutiny as the table underneath it. You want a firm, waterproof surface with raised edges. Soft memory foam and plush pads feel comfortable, but they allow a baby to sink in and create a rolling surface rather than a stable one. Skip them.
Raised edges provide a passive barrier, but they are not enough on their own. Use the safety strap across the pad every single time, starting from the first day home. Use it from day one. The habit you build in those early weeks is the habit that protects your seven-month-old when they discover they can arch their back and flip sideways. In my experience, the strap caught my daughter mid-flip at six months. Without it, that would have been a very different outcome.
The strap is a reminder to keep your hand on your child, not a substitute for it. Both together.
Organize Supplies Within Arm’s Reach
A common setup mistake is spreading supplies across the room: wipes on one side, diapers on a shelf above, diaper cream in a basket across the room, spare outfits in the dresser. That layout makes it likely you will leave your child unattended on the table to grab something.
Three seconds is enough. Never leave a child unattended on a changing surface, even briefly.
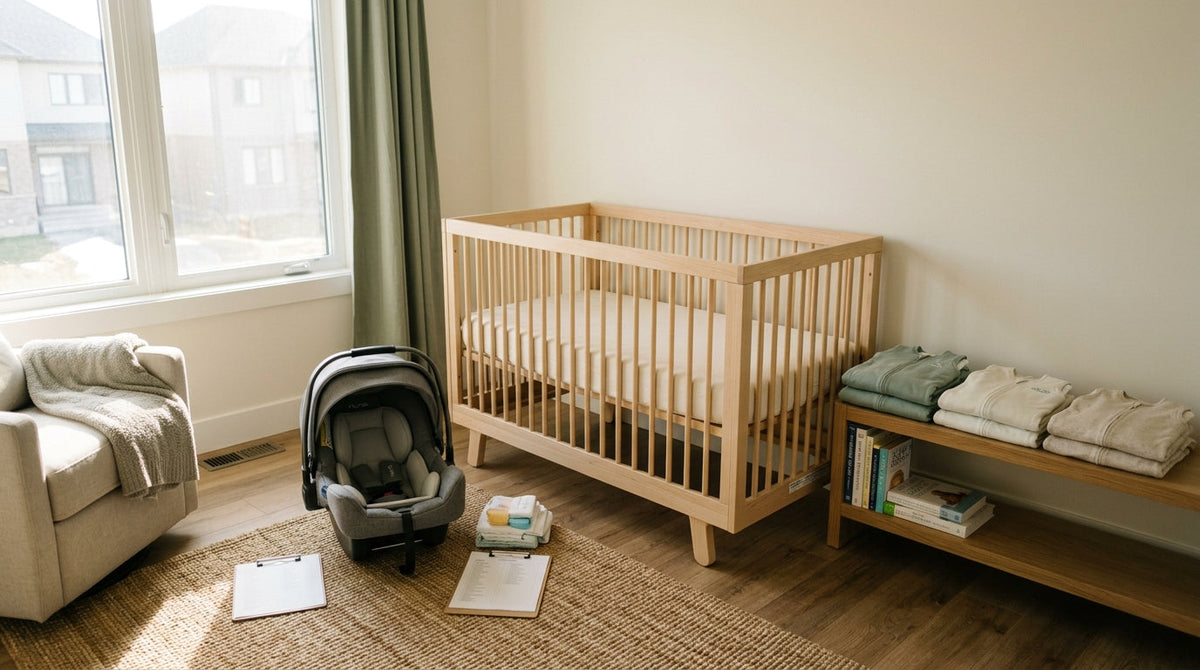
Before you bring your baby home, do a full dry run. Stand at the changing table and reach in every direction without moving your feet. Everything you might need during a change should be within that radius. Diapers, wipes, diaper cream, a spare outfit, a changing pad liner, and a small toy or distraction item if your baby is old enough to hold one. A wall-mounted organizer or a small caddy attached to the table keeps supplies accessible without cluttering the surface.
Keep the diaper pail close enough to use without stepping away, but out of your baby’s reach. Children can pull a pail over onto themselves. And anything with a lid or a latch is interesting to a curious infant.
Keep the Area Clear of Cords, Windows, and Hazards
Look at what surrounds your changing table, not just the table itself. Windows are a particular concern. CPSC recommends windows open no more than 4 inches in homes with young children. A changing table positioned near a window puts a mobile infant within reach of blind cords, window hardware, and an opening. Blind and window covering cords are a strangulation risk for infants. Move the table, or move the furniture.
Scan the wall and shelves above and beside the table. Anything a baby can grab and pull down, including framed art, shelving brackets, hanging organizers, or decorative items, should be relocated. A reaching infant has surprising range and surprising grip strength. The floor beneath the table should also be clear. If a fall does happen, you want nothing between your child and the floor that could cause a secondary injury.
Cleaning supplies, diaper cream in larger quantities, and anything in a spray bottle belong in a locked cabinet, not on an open shelf near the changing station. Children are fast and unpredictable during and immediately after changes.
Inspect the Table Regularly
A changing table that was structurally sound six months ago may not be today. Bolts loosen with daily use. Straps fray. Joints crack. Inspect the entire table every month: tighten every bolt, check the anti-tip strap connection at both the wall and the table, examine the changing pad for tears or compression that has flattened the raised edges, and check the safety strap buckle for cracking or stiffness.
If anything is damaged, stop using the table until it is repaired or replaced. There is no safe "just this once" with a compromised joint or a fraying strap.
Monthly Changing Table Inspection
Train Every Caregiver Who Uses the Station
Your setup and habits protect your baby when you are doing the changing. They do not automatically protect your baby when your partner, your mother-in-law, or your regular babysitter is doing it.
Walk every caregiver through the station before they use it. Show them where supplies are, demonstrate the strap buckle, and be explicit that the hand stays on the baby at all times. "I always keep one hand on her" is a clearer instruction than "be careful." Explain the weight limit if it’s relevant. Show them where the diaper pail is and where cleaning supplies are stored.
Inconsistent practices between caregivers are a real risk factor. A grandparent who raised children before changing table standards existed may have different instincts. A babysitter who is used to a different setup may reach for supplies in a way that takes their attention off the baby. The conversation takes five minutes and it matters.
Build the Habit Before You Need It
The safest changing station is the one where every single change follows the same sequence: supplies checked and within reach, baby placed and strapped, one hand on the baby throughout, strap released only when the baby is in your arms. That sequence should be so automatic that you do it half-asleep at 3 a.m. without thinking.
That automaticity comes from doing it the right way every time from the beginning, not from doing it carefully when you remember and casually when you’re tired. Set up the station before your baby arrives. Install the anti-tip strap before you use the table. Put the strap on the pad before the first change. The habits you build in the first weeks are the ones that hold when you’re exhausted, distracted, or in a hurry, which is when accidents happen.
A well-organized, properly secured changing station takes no more time to use than a disorganized one. It just requires the setup work upfront and a commitment to the same routine every time.