How to Install Cabinet Locks: Step-by-Step for Every Lock Type

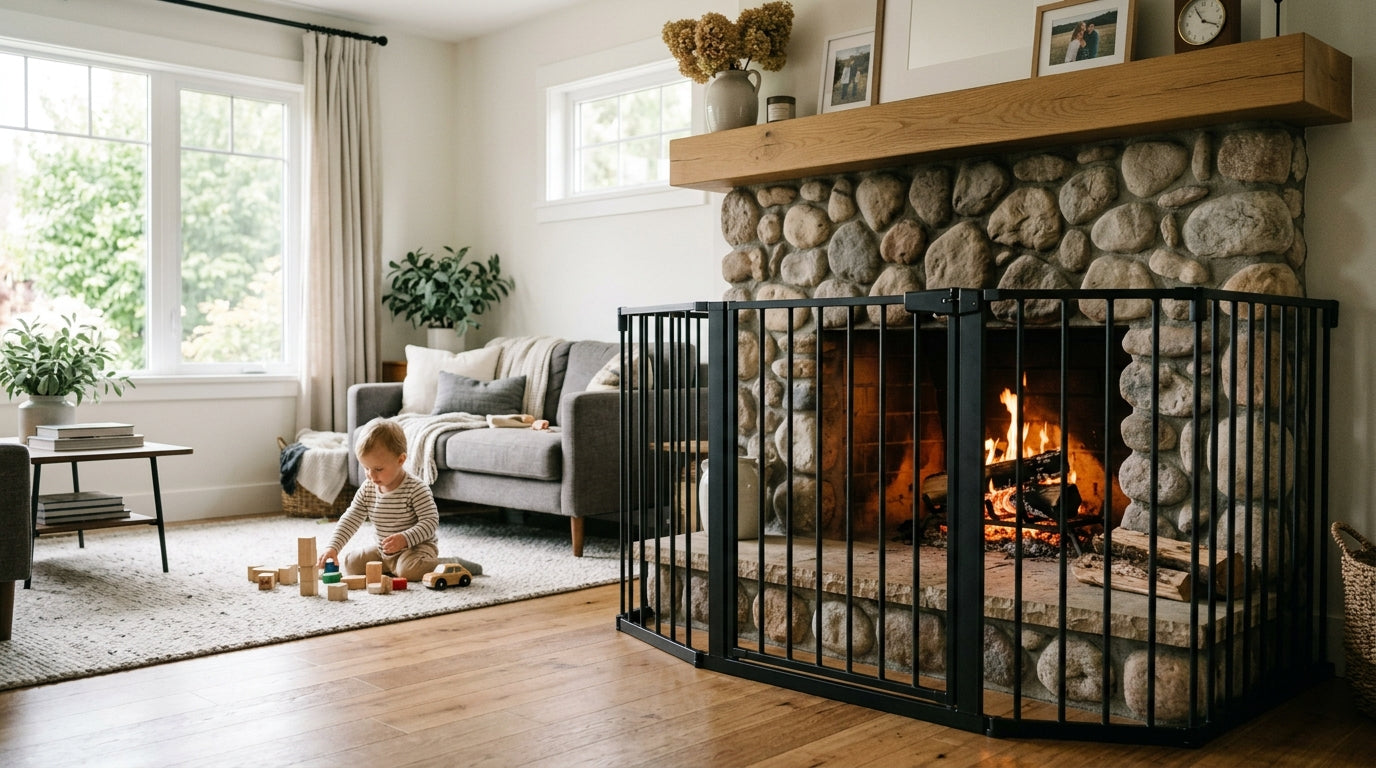
Every second counts when a toddler gets curious. In 2024, household cleaning substances topped the list of substances kids under 6 got into, accounting for roughly 1 in 10 (10.1%) of all pediatric poison center cases, according to America’s Poison Centers. Those products live under your kitchen sink, in your bathroom cabinet, in the laundry room. And the lock standing between your child and them is only as good as its installation.
I’ve installed every type of cabinet lock on the market across two houses, a rental apartment, and my sister’s kitchen before her first grandchild started pulling up on furniture. I’ve had adhesive strips fail on textured laminate, magnetic catches that wouldn’t engage because the door sagged a quarter inch, and screw-mounted latches that outlasted the cabinet itself. What follows is what I’ve learned, organized by lock type, with the honest details that most installation guides skip.
Why the Lock Type You Choose Matters Before You Buy
Not all cabinet locks are interchangeable. The right choice depends on whether you own or rent, the surface material of your cabinets, the age and persistence of your child, and how many caregivers need to use the lock daily.
ASTM F3492–21 is the voluntary consumer safety standard that applies to cabinet locks and latches in the U.S. It covers interior-mounted child-safety latches and targets children under 48 months. Locks that meet it must withstand an average breaking force of at least 45.3 lbs across a 30-sample test. That number matters because a determined two-year-old pulling with both hands generates more force than most parents expect. Look for F3492–21 compliance on the packaging before you buy anything.
A 2012 CPSC recall pulled 900,000 Safety 1st Push 'N Snap cabinet locks after reports of children as young as 9 months opening them. Three children reached toxic cleaning products. Lock design and installation quality are both critical variables.
Inspect Before You Install
Before you open a single package, check every cabinet you plan to lock.
Open and close each door fully. It should close flush with the frame, with no gap at the top, bottom, or latch side. A door that sags or sticks will prevent almost any lock from engaging correctly. If the door doesn’t close smoothly, tighten the hinge screws first. If the screws spin without catching, the holes are stripped and need wood filler or longer screws before you proceed.
Check the inside surface where the lock will mount. Run your hand across it. Textured surfaces, oily finishes, and peeling paint will all undermine adhesive locks. If you’re planning screw-mounted hardware, confirm there’s enough cabinet frame depth to accept the screws without punching through to the outside.
Test the door swing with your hand where the lock body will sit. Some locks add enough bulk that a narrow cabinet door won’t close fully once the hardware is in place. Better to discover that now.

- Cleaning products within toddler reach
- Sagging door gap prevents lock engagement
- Textured surface undermines adhesive locks
- Stripped hinge screws cause door misalignment
| Lock Type | Best For | Tools Required | Renter-Friendly | Durability |
|---|---|---|---|---|
| Magnetic | Multi-caregiver homes | Drill, tape measure | Yes | High |
| Adhesive | Renters, quick installs | None | Yes | Moderate |
| Screw-Mounted | Owned homes, wet areas | Drill, screwdriver | No | Highest |
Installing Magnetic Cabinet Locks
Magnetic locks are my first recommendation for renters, multi-caregiver households, and anyone who wants a clean look. There’s no visible hardware on the outside of the cabinet. A hidden catch mounts inside, and a magnetic key held against the door face releases it.
What you need: A drill, a tape measure, a pencil, and the magnetic key that came with the lock. Most kits include a mounting template.
Position the catch on the inside of the cabinet door frame, in the top corner away from the hinge. That placement distributes pulling force across the strongest part of the frame and keeps the door from popping open under pressure. Use the included template to mark your screw holes. Drill pilot holes slightly smaller than your screw diameter so the wood doesn’t split. Mount the catch plate first, then attach the strike to the door itself, aligning it so the two pieces meet cleanly when the door closes.
Close the door and test the alignment. The catch should engage with a click. If it doesn’t, loosen the strike screws and shift the strike plate slightly toward the catch. Most magnetic lock kits have 2–3mm of adjustment built in. Use it.
Once aligned, hold the magnetic key against the outside of the door directly over the catch. The door should release. If you have to hunt for the release point, mark a small pencil dot on the inside of the cabinet at catch height so caregivers know exactly where to hold the key.
Store the magnet key in a high drawer or a locked container. Not on the refrigerator. Not on the counter. My younger daughter figured out that the flat disc near the coffee maker opened the cabinet under the sink. She was 22 months old.
In humid kitchens and bathrooms, wipe the magnetic catch dry if it gets wet. Moisture can make the mechanism sluggish. If you’re installing in a consistently wet area, screw-mounted latches will hold up better long-term.
-
Position the catch
Mount the catch inside the cabinet frame, top corner away from the hinge, using the included template to mark screw holes. -
Drill pilot holes and mount
Drill pilot holes slightly smaller than screw diameter. Mount the catch plate first, then attach the strike to the door. -
Test alignment
Close the door. The catch should click. If not, loosen the strike screws and shift the plate up to 3mm toward the catch. -
Confirm key release
Hold the magnetic key against the door over the catch. The door should release immediately. Mark the spot if needed. -
Store the key safely
Keep the magnet key in a high drawer or locked container, never on the counter or refrigerator.


Installing Adhesive Cabinet Locks
Adhesive locks are fast, tool-free, and renter-friendly. They’re also the type most likely to fail if installed carelessly.
What you need: Rubbing alcohol, a clean cloth, and the lock itself. That’s it.
Clean both mounting surfaces, the cabinet door and the frame, with rubbing alcohol. Let them dry completely. Do not skip this step. Skin oils, cooking grease, and cleaning product residue all reduce adhesive bond strength. If the surface feels tacky or looks dull after wiping, wipe it again.
Peel the adhesive backing and press the lock body onto the cabinet frame. Hold firm, even pressure for at least 30 seconds. Then attach the corresponding piece to the door, close the door to align the two halves, and press again for 30 seconds. Do not touch the adhesive strips with your bare fingers after peeling. The oils from your skin will reduce bonding strength at the contact point.
Do not use the lock for 24 hours. The adhesive needs a full cure before it can hold against pulling force. I know it’s tempting to test it immediately. Wait.
After 24 hours, test by pulling on the door firmly, the way a toddler would, with both hands and some body weight behind it. If the lock holds, check again in a week, then monthly. Adhesive weakens over time, especially in kitchens where heat and humidity cycle constantly. Replace any lock where the adhesive has lifted at the edges, even partially.
Adhesive locks work best on smooth laminate, painted wood, and melamine. They do not hold reliably on textured surfaces, raw wood, or any surface with a coating that’s already peeling.


Installing Screw-Mounted Latch Locks
Screw-mounted latches are the most durable option. They’re also the most permanent. Plan on visible screw holes if you ever remove them.
What you need: A drill, a screwdriver, a tape measure, a pencil, and the hardware included with the latch.
Mount the latch body to the inside of the cabinet frame, roughly 2 inches from the door edge. Mark the screw positions with a pencil. Drill pilot holes. Drive the screws until snug but not so tight that you compress the mounting plate. Over-tightening can crack the latch housing.
Close the door and mark where the strike plate needs to land on the door interior. Most latches include a strike positioning sticker for this. Mount the strike, then test the engagement. The latch should catch automatically when the door closes and require deliberate adult pressure to release.
These locks hold up in humid bathrooms and under-sink cabinets where adhesive would eventually fail. If you’re in an owned home and you’re installing on cabinets that hold medications, pesticides, or cleaning products, screw-mounted latches are worth the extra 20 minutes.
Cabinets That Need Locks
Which Cabinets Need Locks
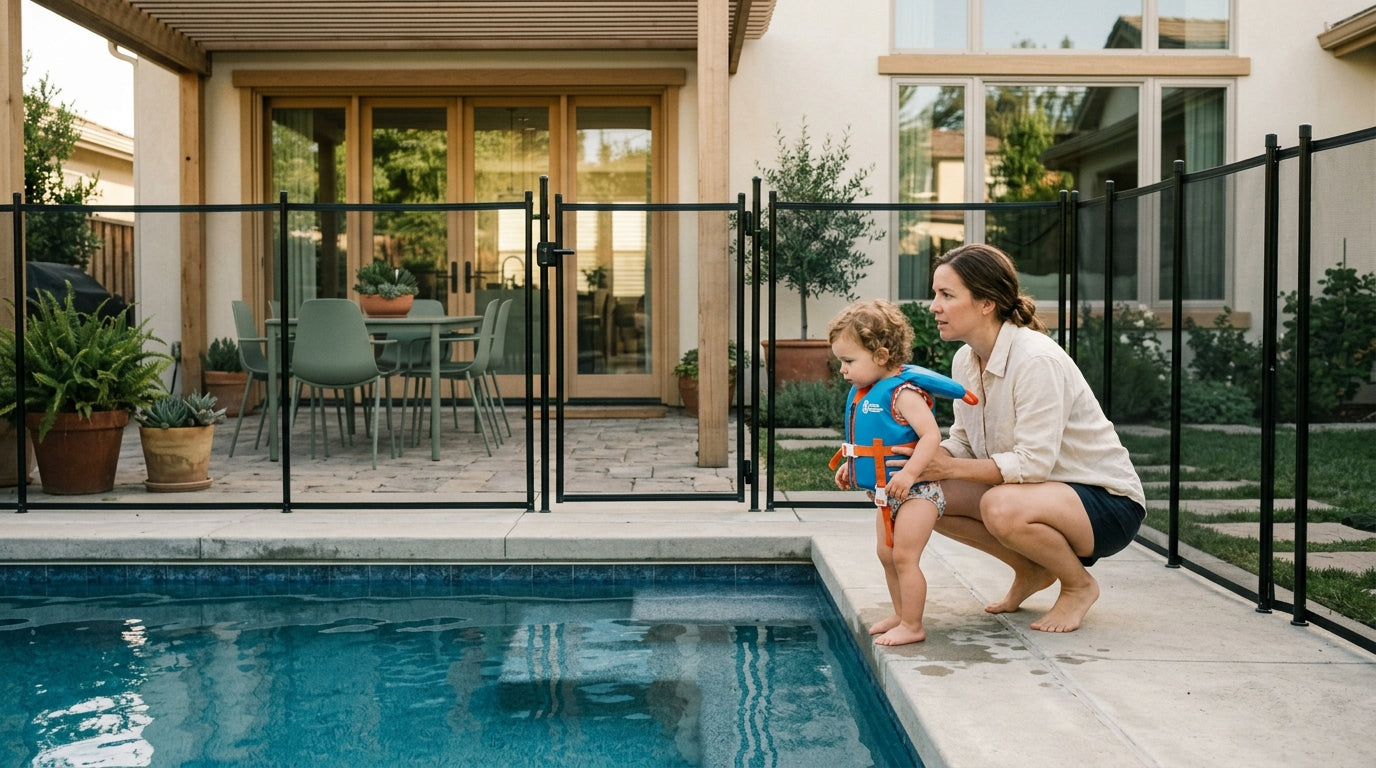
The AAP recommends cabinet locks on all cabinets below counter height that contain medications, cleaning products, pesticides, or sharp objects. That guidance is broader than most parents initially apply it. It includes the bathroom vanity, the laundry room, the garage, and any drawer holding knives, scissors, or corded small appliances.
According to CPSC data, pediatric poisoning deaths in children under 5 reached 90 in 2023, with narcotic-medication fatalities doubling from 33 in 2021 to 66 in 2023. Medications belong in a locked cabinet, not a high shelf. High shelves are a climbing problem. Locks are a lock problem. Solve both.
For households with multiple caregivers, magnetic locks are the practical choice. The magnet key can be handed off without key management or memorization, and there’s no combination an older sibling can share with a younger one. Make sure every regular caregiver knows where the magnet is stored and has used it at least once before they’re alone with your child.
After Installation: Testing and Maintenance
Test every lock immediately after installation, then again after 48 hours. Pull on each door with deliberate force. Check that the door closes fully before the lock engages. A lock that engages on a slightly open door will appear to work but won’t hold under real pulling force.
Set a monthly reminder to check adhesive locks. Press on the mounting surfaces to confirm they’re still fully bonded. Check magnetic catches for corrosion or sluggishness. Confirm screw-mounted latches haven’t worked loose from repeated use.
If a lock fails your monthly check, replace it the same day. Not the same week.