Most parents spend more time researching a baby monitor than they do checking what temperature their water heater is set to. That’s understandable. The monitor is visible. The water heater is in a closet or basement, and it came with the house. But the temperature of the water coming out of your taps is one of the most consequential safety settings in your home, and most heaters ship from the factory set too high for a household with young children.
Here’s what the numbers mean, and how to fix them.
5 sec — Time to a third-degree burn at 140°F
Why Children Burn Faster Than You Do
A baby’s skin is thinner than an adult’s. That’s not a metaphor. The outer layers are less developed, which means hot water penetrates to deeper tissue faster and causes more severe injury at lower temperatures and shorter exposures. Infants and toddlers also can’t reflexively pull away from a hot stream the way an older child or adult can. A baby sitting in a tub can’t stand up and step back. A toddler who grabs a running faucet doesn’t have the coordination or the instinct to let go quickly enough.
The CPSC has quantified what this means in practice. At 120°F (49°C), a serious scald takes about five minutes of exposure. At 140°F (60°C), a third-degree burn can occur in just five seconds. Five seconds is less time than it takes to reach across a tub. It’s less time than it takes to realize something is wrong.
The intermediate temperatures matter too. At 130°F, serious burns can occur in about 30 seconds. At 150°F, it’s closer to two seconds. These aren’t edge cases. Many water heaters, especially older gas tank units, are factory-set to 140°F or higher.
Key Takeaways
- Set your water heater to 120°F (49°C), the AAP and CPSC both recommend this for homes with.
- At 140°F, a third-degree burn can occur in five seconds.
- Test delivered temperature at the tap with a thermometer before and after adjusting the heater.
- A thermostatic mixing valve lets you store water at 140°F for bacteria control while capping tap delivery at.
- Electric heaters have two thermostats. Set both to the same temperature or results will be inconsistent.
The Recommended Setting and Why It Exists
The AAP recommends setting the water heater to 120°F (49°C) or lower to prevent scalds. The CPSC echoes this. At 120°F, there’s a meaningful buffer between the temperature of delivered water and the threshold where injury happens quickly. A child who contacts hot water at 120°F has, in theory, time for an adult to intervene before a serious burn occurs. At 140°F, that window is gone.
In my experience, when I tested the hot water in our previous house shortly after my younger daughter was born, I expected to find it somewhere around 120°F. I ran the kitchen tap for two minutes and stuck a candy thermometer under the stream. It read 138°F. The water heater had never been adjusted from its factory setting. We’d been washing her hands at that temperature for weeks.
That’s not unusual. Factory defaults exist partly for a reason I’ll get to in a moment, and partly because manufacturers have no way of knowing who will live in a given house. The responsibility for adjusting the setting falls to the homeowner, and many never think to do it.
How to Test Your Tap Temperature
- Run the nearest hot tap: Let the hot water run for two full minutes to flush cooled water from the pipes.
- Insert a thermometer: Hold a candy thermometer or instant-read digital thermometer directly in the stream.
- Read after 30 seconds: Wait for the reading to stabilize. Above 120°F means you need to adjust the heater.
- Retest after adjusting: Wait 2–4 hours after changing the heater setting, then repeat the tap test to confirm.
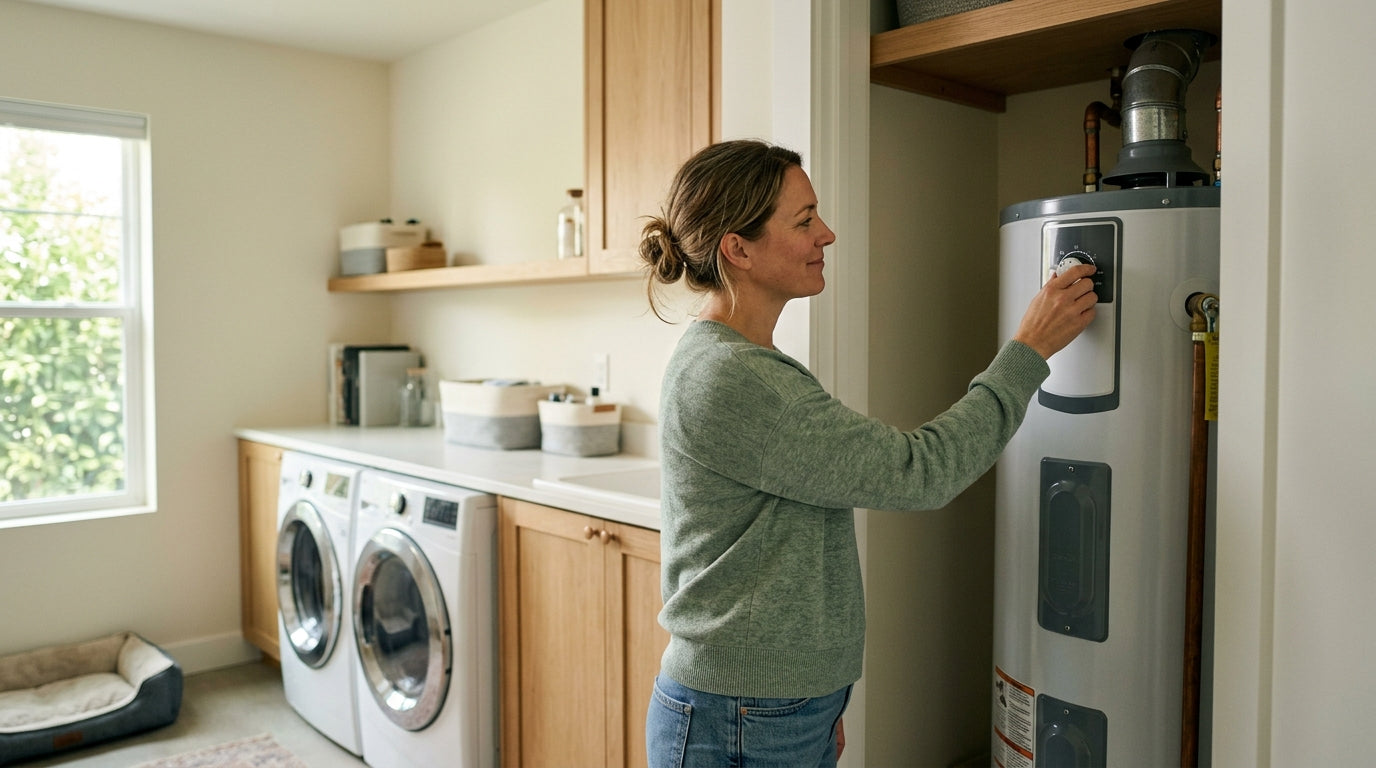
How to Check What Your Water Is Delivering
Before you touch the water heater, check what’s coming out of your taps. The thermostat dial on a tank heater is not always accurate. Sediment buildup, thermostat age, and the distance between the heater and your fixtures can all create a gap between the set temperature and the delivered temperature. For a complete walkthrough of the testing process, see our guide on how to check if your water heater temperature is safe for a baby.
The test is simple. Run the hot tap closest to your water heater for two minutes. This purges the cooled water sitting in the pipes and gives you a steady-state reading. Then hold a candy thermometer or an instant-read digital thermometer directly in the stream. Read it after 30 seconds.
If the reading is above 120°F, adjust the heater. If it’s below 110°F, you may have a different problem, including a failing heating element or a thermostat that’s drifted low. Somewhere between 115°F and 120°F is the target range for a household with young children.
How to Adjust Your Water Heater
The process differs by heater type.
Gas tank heaters are the most straightforward. Find the thermostat dial near the bottom of the unit, usually on the gas valve. Mark the current position with a marker before you turn anything. Rotate the dial toward the lower setting, wait four hours for the water to stabilize, then retest at the tap. Most dials have labeled positions ("Hot," "A," "B," "Very Hot," "Vacation"). "Hot" on most units corresponds to roughly 120°F, but verify with the thermometer rather than trusting the label.
Electric tank heaters require more steps. Turn off the circuit breaker for the heater before you do anything else. Electric tanks have two heating elements, one near the top of the tank and one near the bottom, each with its own thermostat behind an access panel. Remove both panels (usually held by two screws each), pull back the insulation, and you’ll find the thermostat adjustment screws. Set both to the same temperature, typically the lowest marked position that corresponds to 120°F. Replace the insulation and panels before restoring power. Wait two hours, then test at the tap.
Tankless heaters are the easiest to adjust. Most have a digital control panel on the unit itself with a setpoint display. Find the temperature setting, change it to 120°F, and you’re done. Some units have a child lock on the controls; set it after you’ve made the adjustment.
The Legionella Complication
Here’s the reason factory settings are often 140°F. Legionella bacteria can colonize stored water between roughly 77°F and 113°F (25°C and 45°C), with growth slowing significantly above 122°F (50°C) and the bacteria dying at sustained temperatures of 140°F (60°C) or higher. This is a real concern in large commercial water systems. In residential tanks, the risk is lower but not zero, particularly in homes with older plumbing, low water usage, or immunocompromised residents.
For most households with young children, the CPSC and AAP position is that the scald risk at 140°F outweighs the Legionella risk at 120°F. But if you have a household member who is immunocompromised, elderly, or has a chronic respiratory condition, discuss the tradeoff with your doctor before lowering the setting.
One practical middle path: set the heater to 140°F for Legionella suppression, and install a thermostatic mixing valve (TMV) at the heater outlet that blends in cold water before it reaches your distribution pipes. The stored water stays hot enough to inhibit bacterial growth, but the water delivered to your fixtures is capped at 120°F. This is the approach used in most commercial childcare facilities and hospitals.
Anti-Scald Devices Worth Knowing
A TMV at the heater is the most comprehensive solution because it protects every fixture in the house simultaneously. These valves are plumbed into the hot water outlet and use a thermostatic element to maintain a set mixed temperature regardless of supply fluctuations. A licensed plumber can install one in a few hours.
At the fixture level, two standards govern anti-scald valves. ASSE 1016 covers shower and tub valves that limit the maximum hot water temperature at that specific outlet. ASSE 1017 covers point-of-use mixing valves for lavatories and sinks. If you’re remodeling a bathroom or replacing a shower valve, specifying an ASSE 1016-compliant valve is worth the modest upcharge.
Pressure-balancing valves are a related but different technology. They compensate for sudden pressure changes, like when a toilet flushes during a shower, which can cause a brief temperature spike. They don’t limit the maximum temperature the way a TMV does. They’re useful, but they’re not a substitute for temperature control.
Installation Traps That Can Fool You
Long pipe runs. If your water heater is at one end of the house and the bathroom is at the other, the pipes lose heat in transit. To compensate, some plumbers set the heater higher than necessary. If you’ve moved into a home and the heater is set to 130°F or 135°F, ask whether there’s a specific reason before assuming it’s an oversight.
Recirculation loops. Hot water recirculation systems keep hot water ready at every tap by continuously cycling water back to the heater. They’re convenient, but they can mask what the heater is set to, because the water in the loop is always near the heater temperature rather than cooling in the pipes. If you have a recirculation system, test at a fixture that’s far from the heater and confirm the temperature there, not just at the nearest tap.
Sediment and dip tube degradation. In hard-water areas, mineral deposits accumulate at the bottom of tank heaters and on the dip tube (the pipe that directs cold incoming water to the bottom of the tank). Heavy sediment can insulate the lower heating element, causing the upper element to work harder and deliver water that’s hotter than the thermostat setting. If your water temperature seems inconsistent or higher than expected, sediment may be a factor. Flushing the tank annually helps.
Making the Change Today
The adjustment takes less than 20 minutes for a gas heater and about an hour for an electric one. The thermometer test takes five minutes. These are not complicated tasks.
Set the heater to 120°F (49°C), verify the delivered temperature at the tap, and if you want the added protection of Legionella suppression at higher stored temperatures, talk to a plumber about a TMV at the heater outlet. That combination gives you the best of both: bacterial control in storage, and safe water at every fixture where your child can reach a tap.