Baby Gate for Top of Stairs: Safety Features That Actually Matter
Safety Features That Actually Matter

Every year, roughly 100,000 children under five are treated in emergency rooms for stair-related injuries (CPSC). A significant portion of those falls are preventable. The gate you choose for the top of your stairs is one of the most consequential pieces of hardware in your home, and the difference between a gate that works and one that looks like it works is not always obvious at the store.
I’ve installed more than a dozen pressure-mounted and hardware-mounted gates across two houses and two kids. I learned the hard way, when my older daughter figured out how to pop a pressure-mounted gate free at the top of our stairs at around 28 months, that not all gates belong in all locations. She didn’t fall. But she could have. That experience rewired how I evaluate every gate I’ve tested since.
Hardware-Mounted at the Top of Stairs
This is the one rule with no exceptions. A pressure-mounted gate uses tension against the walls or banister posts to stay in place. That tension can fail. A child pushing against it, leaning on it, or working at it repeatedly can dislodge it. At the bottom of stairs, a fall means a tumble onto a flat surface. At the top, it means a fall down the entire flight.
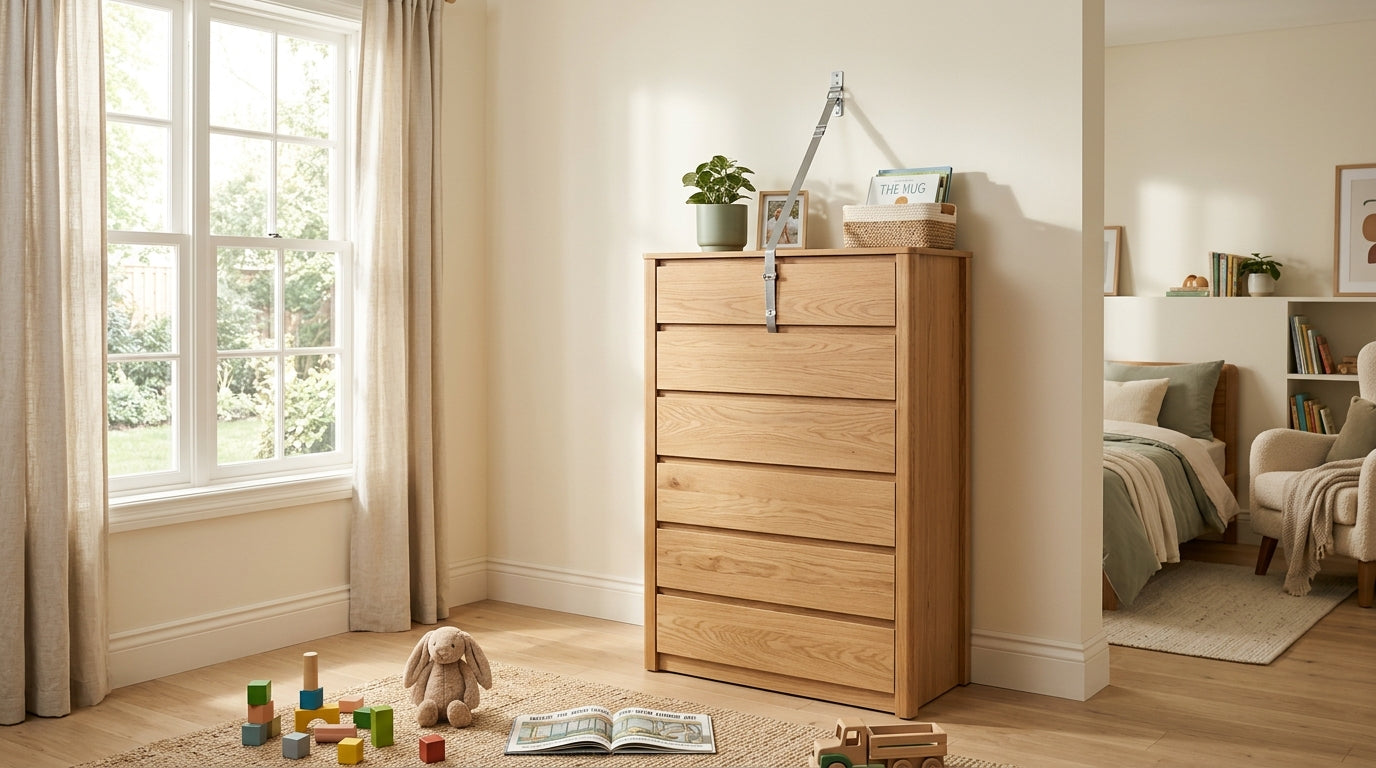
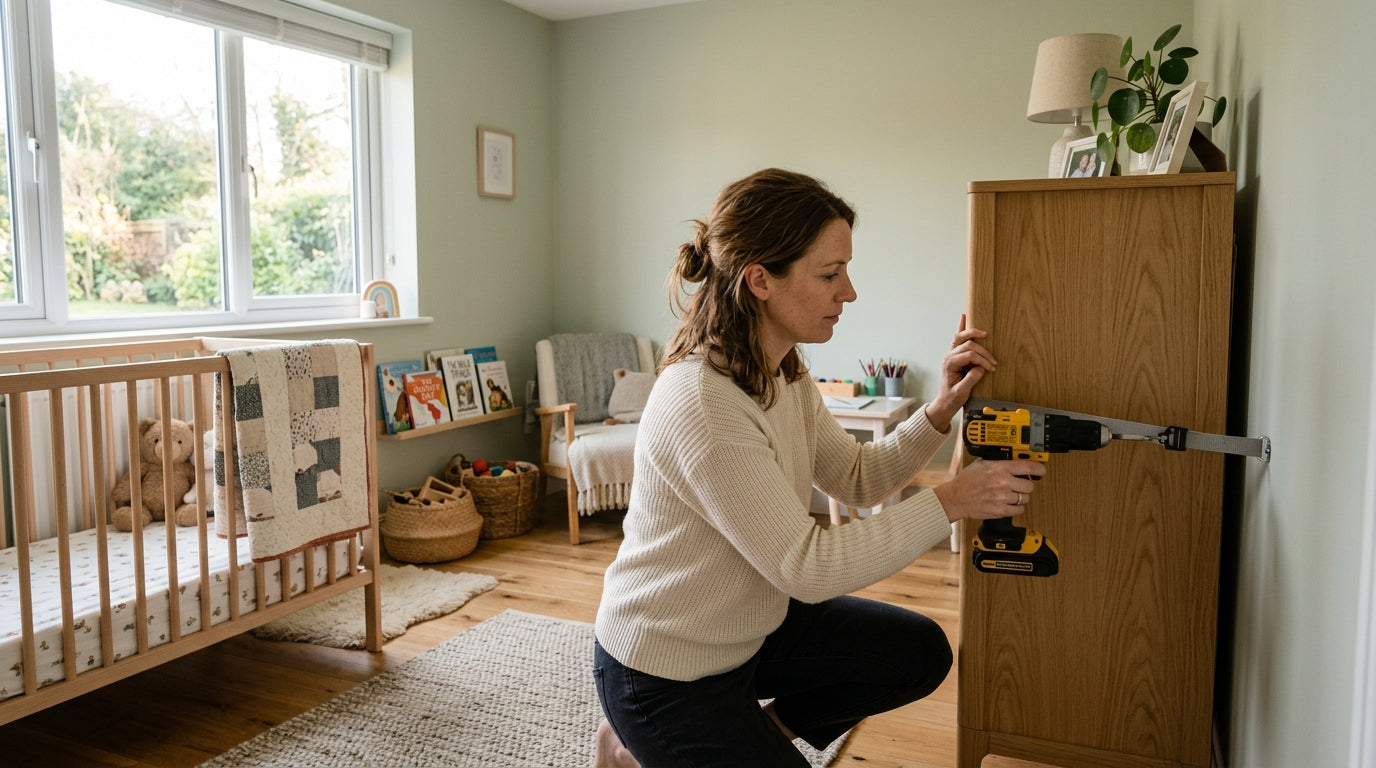
The American Academy of Pediatrics recommends only hardware-mounted gates at the top of stairs. Hardware-mounted means screws go into wall studs or a banister adapter kit, creating a fixed connection that doesn’t rely on friction. When I installed the gate at the top of our current staircase, I used a stud finder, pre-drilled pilot holes, and checked the mount torque after 48 hours once the wood had settled. That’s the standard. It takes twenty minutes and it holds.
If you’re renting and worried about wall damage, that’s a real concern, but it doesn’t change the physics. Talk to your landlord. Most will agree to hardware mounting for safety reasons, and most security deposits account for small screw holes with proper patching.
The Latch Mechanism Matters More Than the Frame
Parents tend to focus on gate height or bar spacing. The latch is what fails. A gate that a toddler can figure out is a gate that doesn’t work.
Look for a latch that requires two simultaneous actions to open: lift and turn, push and pull, or squeeze and lift. This dual-motion requirement is difficult for children under three. A single-motion latch, no matter how stiff it feels in the store, is a single problem to solve. Toddlers are persistent and surprisingly methodical.
I’ve tested gates where the "two-step" latch was really just a stiff one-step latch. My younger daughter, at around 22 months, worked one open in about four minutes while I watched. The mechanism required lifting a lever, but the lever travel was long enough that she could do it with both hands working the same motion. That gate went back.
Also check whether the gate auto-closes and auto-latches. At the top of stairs, you want a gate that closes and locks behind you every single time, not one that relies on you remembering to push it shut after carrying laundry down.
Walk-Through Design and One-Handed Operation
You will open this gate dozens of times a day. Often with a child on your hip, a laundry basket in your arms, or a cup of coffee in your hand. A gate that requires two free hands to open is a gate that gets left open.
The best hardware-mounted stair gates open with a single hand and swing in both directions, or at minimum swing away from the stairs so you’re never stepping backward onto the top step while trying to get through. Stepping backward at the top of a staircase while managing a toddler is its own hazard.
Check the swing direction before you buy. Some gates are directional and only swing one way. If the hinge placement puts the swing toward the stairs, that’s a design flaw for top-of-stair use. You want the gate to swing into the hallway or landing, away from the drop.
Walk-through height matters too. Most adults clear a 29–32 inch gate without thinking about it, but if you have tall household members or you’re frequently carrying things overhead, check the frame height against your own body. Stubbing your toe on a gate frame at 2 a.m. is annoying. Tripping over it while carrying a baby is dangerous.


Bar Spacing and Entrapment Risk
The CPSC standard for gate bar spacing is a maximum of 2–3/8 inches between vertical slats. This is the same standard used for crib slats. A child’s head can fit through gaps that their body cannot, creating a strangulation risk if the head becomes trapped.
Measure the spacing yourself before installing. I’ve encountered gates sold as "CPSC compliant" where the spacing at the outer edges, near the hinge or latch hardware, was wider than the spacing in the center. The standard applies to the entire gate, not just the middle section.
Also check for horizontal bars or footholds. A gate with horizontal rungs is a ladder. A motivated toddler will climb it. The best gates for top-of-stair use have vertical bars only, with no horizontal members below the top rail that a child could use as a step.

- Drywall anchor, not a stud
- Gate swinging toward the stairs
- Loose banister adapter with plastic clamp
- Wide bar gap near hinge hardware
Width, Adjustability, and Banister Installations
Standard doorways run 28–32 inches wide. Staircase openings often don’t. You may be mounting between a wall and a banister post, between two banister posts, or in an unusually wide or narrow opening. Measure your opening at least twice, at the top and the middle, because walls aren’t always perfectly plumb.
Most hardware-mounted gates accommodate openings in the 28–48 inch range with the included hardware. For wider openings, you’ll need an extension panel. Extensions are fine if they’re made by the same manufacturer as the gate and designed to work with it. Third-party extensions introduce fit and structural questions that aren’t worth the savings.
Banister mounting requires an adapter kit. These kits wrap around the banister post and give you a flat mounting surface. Quality matters here. A cheap adapter kit with thin plastic wrap-around pieces will flex under load. Look for metal hardware with a solid clamping mechanism. When I installed our current gate between a wall stud and a round banister post, I used a kit with steel spindle adapters and felt confident in the rigidity. I still tested it by pushing firmly against the gate in both directions before letting my kids near it.


JPMA Certification and What It Tells You
The Juvenile Products Manufacturers Association (JPMA) certifies gates that have been independently tested against ASTM F1004, the voluntary safety standard for expansion gates and expandable enclosures. JPMA certification means a third party has verified the gate meets that standard, which covers latch performance, structural integrity, and bar spacing.
JPMA certification is a floor, not a ceiling. Certification tells you the gate passed minimum standards under controlled test conditions. It doesn’t tell you how the latch holds up after 18 months of daily use, or how the finish holds on the hardware after cleaning. But a gate without certification hasn’t been independently verified against any standard at all. Start with certified products and then evaluate from there.
Check the JPMA website directly rather than relying on product listings. Certification status can lapse, and some product pages aren’t updated when it does.
Installation: Where Most Gates Fail
A well-designed gate installed poorly is a poorly installed gate. The installation is where most real-world failures happen, and it’s the part that doesn’t come with a warning label.
Mount into studs, not just drywall. Drywall anchors are not adequate for a gate that a child will push against repeatedly. Use a stud finder, confirm the stud location by driving a small nail before committing to the mounting hole, and use the screws that came with the gate or screws of equivalent length and gauge. Short screws in a stud are weaker than long screws in a stud.
If you’re mounting into a hollow-core door frame or a banister, understand the material you’re working with. Hollow-core frames have thin face veneers over empty space. You may need to use the banister adapter approach even if there’s a wall nearby, because the wall framing at the stair opening isn’t always where you expect it.
After installation, do a load test. Push against the gate firmly, from both sides, at the top rail and at the middle. Wiggle the mounting hardware. If anything moves, find out why before your child does. I do this every few months as a habit, and I’ve caught a loose screw twice over the years, both times before it became a problem.
What to Ignore When You’re Shopping
Finish and color. They don’t affect safety. White, black, bronze, wood-look, it doesn’t matter. Buy the gate that meets the safety criteria and then find the finish you can live with.
"Extra tall" marketing. A 36-inch gate is meaningfully taller than a 29-inch gate for a child who’s learning to climb. But height is secondary to latch quality and mounting integrity. A 36-inch gate with a single-motion latch is worse than a 30-inch gate with a solid two-step mechanism.
Smart features and app connectivity. Some gates now include sensor alerts that notify you if the gate is left open. That’s a nice backup. It’s not a replacement for a gate that auto-latches, and it’s a convenience feature, not a primary safety feature. If you want the notification feature, fine. Don’t pay a significant premium for it or choose a gate primarily because of it.
Price above a certain threshold. There’s a meaningful quality difference between a $40 gate and a $90 gate. Above $120 or so, you’re often paying for aesthetics or brand margin, not safety performance. The $150 gate is not safer than the $95 gate if both are JPMA certified, hardware-mounted, and have solid two-step latches.
When to Replace a Gate
Gates don’t last forever. Hardware loosens. Plastic components fatigue. Latches wear.
Replace a gate if the latch no longer engages crisply and requires you to fiddle with it to close. Replace it if the mounting hardware has been removed and reinstalled multiple times, because screw holes in wood degrade with each cycle. Replace it if the gate has taken a significant impact, like a heavy fall or a hard collision, even if it looks fine. Structural damage isn’t always visible.
If you’ve moved and the gate no longer fits the new opening without significant modification, buy a new gate sized for that opening. Improvised extensions and workarounds are where the safety margin disappears.
The CPSC also maintains a recall database at cpsc.gov. Check it when you buy a used gate, and check it periodically for gates you already own. Gate recalls happen, and they’re not always widely publicized.
The Short Version for Busy Parents
If you’re skimming, here’s what matters most:
- Hardware-mounted only at the top of stairs, always, no exceptions
- Two-step latch that requires simultaneous actions to open
- Auto-close and auto-latch so the gate secures itself behind you
- Vertical bars only, spaced no more than 2–3/8 inches apart
- JPMA certified against ASTM F1004
- Swing away from the stairs, not toward the drop
- Mounted into studs, not drywall anchors
- Load-tested after installation and rechecked periodically
The gate at the top of your stairs will be opened and closed hundreds of times before your child is old enough to use the stairs safely on their own. Buy one that earns that repetition, install it correctly, and check it twice a year. That’s the whole job.