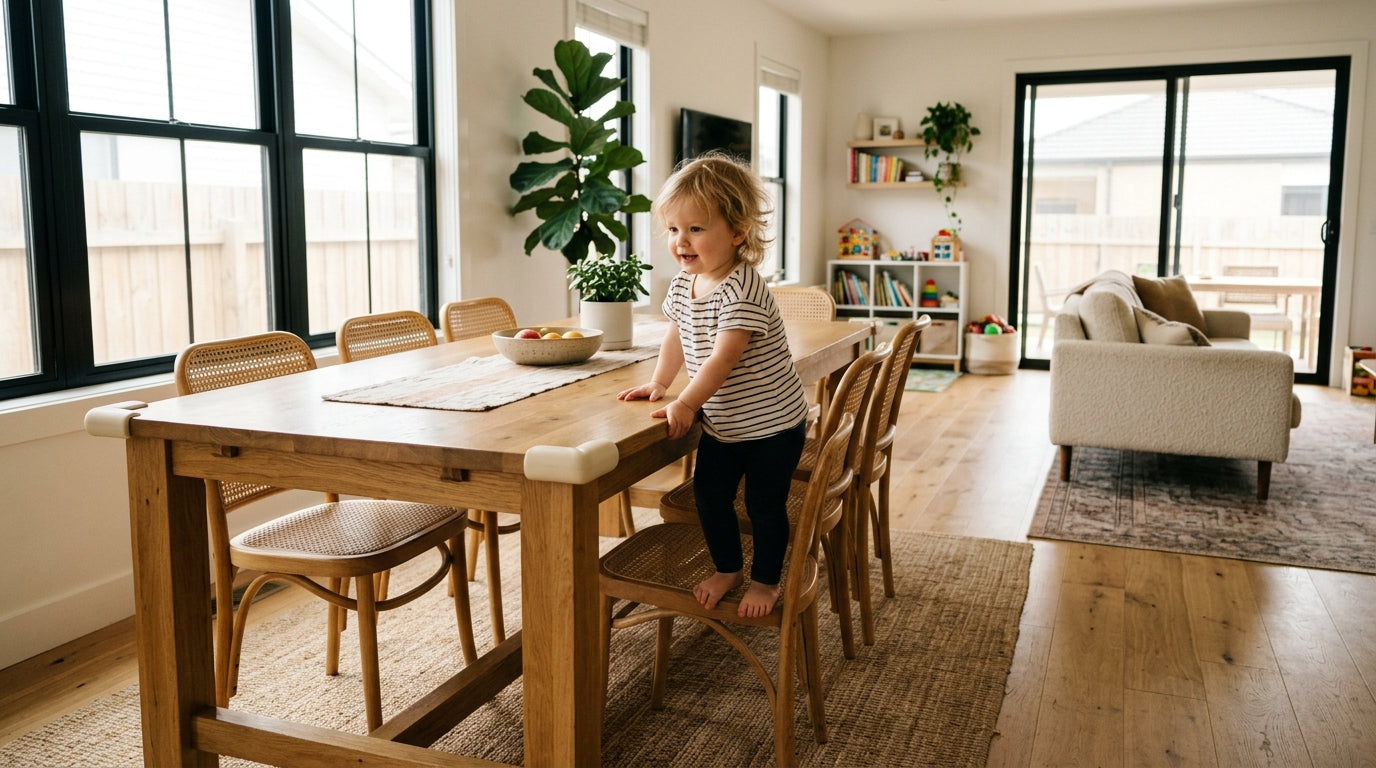
My older daughter figured out the round doorknob cover at 28 months. She’d watched me open it a dozen times, and one afternoon she just sat down, worked both thumbs into the seam, and popped it off like she’d been doing it for years. The bathroom door was open in under a minute.
That was the moment I stopped treating door hardware as a secondary concern.
Doors are the gatekeepers to every hazard in your home: the bathroom, the garage, the basement stairs, the cleaning cabinet. Getting the hardware right matters more than most parents realize until it’s too late.
Know What You’re Blocking
Before you buy anything, walk your home and think about what each door is protecting a toddler from. The answer changes what you need.
Bathroom doors lead to toilets, medications, and water. A laundry room door might mean a front-loader with a latch a toddler can pull open. A basement door is a fall risk. The garage is a chemical hazard. Each of these calls for a reliable block, not a deterrent.
The distinction matters because some products slow a child down and some stop them. A round knob cover that a motivated 28-month-old can defeat in 60 seconds is not the same as a lever lock that requires two simultaneous adult hand movements to operate. Know which category you’re buying before you spend money.
Round Knob Covers: What Works and What Doesn’t
Round doorknob covers are the most common starting point, and they work well on kids under about 24 months. After that, many children figure out the squeeze-and-turn motion, especially if they watch you do it repeatedly.
The covers that hold up best share a few features. Look for a three-piece shell rather than two. The extra piece makes it harder to find the seam. Look for a design that requires simultaneous squeezing at two specific points, not just general compression around the knob. And check the interior fit: a loose cover that spins freely before engaging is easier to defeat than one that grips the knob firmly.
What to avoid:
- Covers with visible seams at the equator of the knob
- Soft rubber designs that compress too easily under small hands
- Any cover that wobbles or shifts when you grip it
In my experience, two of six knob covers failed to stay put on a slightly oval knob. Always test on your actual knobs before installing across the house.

- Bathroom: medications, toilet, water
- Garage: chemicals, power tools
- Basement door: stair fall risk
- Laundry room: front-loader entrapment
- Home office: batteries, cords, meds
Lever Handle Locks: The Better Option for Most Homes
Lever handles are everywhere in newer construction, and they’re a real problem. A child as young as 18 months can depress a lever handle. There’s no grip strength required. Gravity does most of the work.
Lever locks clamp onto the handle and require an adult to squeeze or slide a release mechanism before the lever will move. The best ones work on both the handle and the latch simultaneously, so a child can’t just push the door open even if they manage to depress the lever partway.
Look for these features in a lever lock:
- Compatibility with your specific handle shape (D-shaped, curved, and bar-style levers all have different profiles)
- A release mechanism that requires two distinct motions, not just one
- A housing that doesn’t shift or rattle under pressure
- Tool-free installation, because you will be moving these between doors
In my experience, a child can clear out an under-sink cabinet in minutes. Lever locks on the kitchen and bathroom doors, and the interior garage door, prevent this.


Adhesive vs. Hardware-Mounted Options
Most door handle products use adhesive mounting, a screw-on clamp, or a combination. Each has trade-offs.
Adhesive-only products are fast to install and leave no marks. They also fail more often, especially on textured surfaces, painted wood, or in humid rooms like bathrooms. If you go adhesive, clean the surface with rubbing alcohol first, let it cure for 24 hours before trusting it, and check the bond monthly.
Hardware-mounted or clamp-style products are more reliable but can scratch or dent handles. On an exterior door or a door to a high-risk room like the garage, this trade-off is worth it.
Combination designs use adhesive for alignment and a mechanical clamp for holding strength. These are my preference for lever locks on high-traffic doors.
In my experience, adhesive locks on bathroom doors in homes with steam showers fail faster than expected due to humidity cycles.
| Mounting Type | Install Speed | Mark-Free | Reliability | Best For |
|---|---|---|---|---|
| Adhesive-only | Fast | Yes | Moderate | Low-humidity rooms |
| Hardware clamp | Moderate | No | High | Garage, high-risk doors |
| Combination | Moderate | Mostly | High | High-traffic levers |


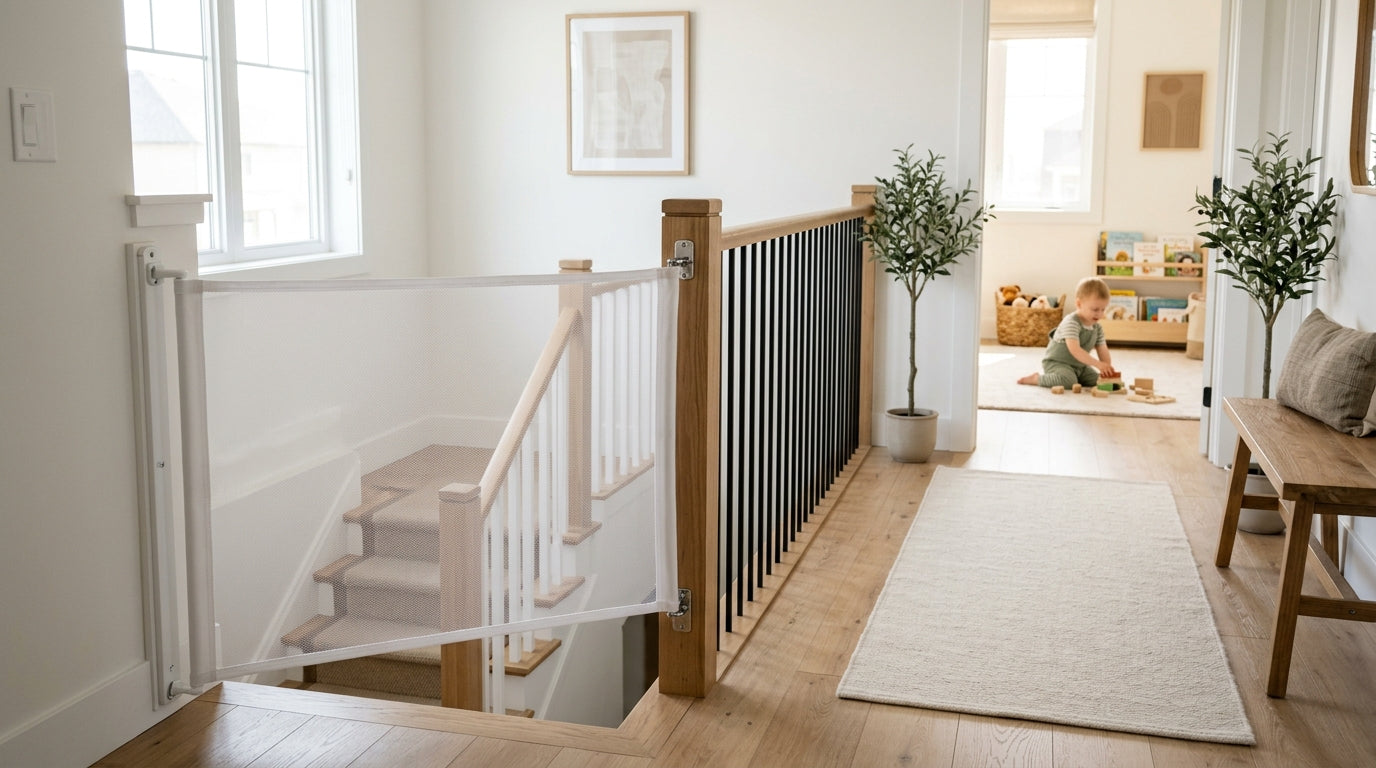
Sliding Door and Barn Door Considerations
Standard knob and lever locks don’t work on sliding doors or barn-style doors. These need a different approach.
For sliding glass doors, a pinch guard or sliding door lock that drops into the track is the most reliable option. Some parents use a cut-down wooden dowel in the track, which works but doesn’t prevent the door from being lifted off the track by a determined toddler.
For barn doors, the challenge is that most barn door hardware has no built-in latch. A surface-mounted barrel bolt placed high on the door frame (above child reach) is a practical solution. Just make sure it’s on the frame side, not the door itself, so it can’t be reached by a child standing in the doorway.
-
Measure and confirm fit
Measure handle length from door face to tip and diameter at the base before purchasing. -
Clean the surface
Wipe mounting area with isopropyl alcohol and allow to dry fully before applying adhesive. -
Apply even pressure
Press across the full adhesive surface, not just the center, for a secure bond. -
Test like a toddler
Pull, push, shake, and depress the lever partway before considering the install complete. -
Check at one week and one month
Re-inspect adhesive bonds after temperature or humidity changes and replace any loose locks immediately.
Installing Correctly: The Steps That Matter
Installation mistakes are where most failures happen. Here’s what I do on every install.
Before you start:
- Confirm the product fits your specific handle. Measure the handle length from the door face to the tip, and the handle diameter at the base.
- Clean the mounting surface with isopropyl alcohol and let it dry completely.
- Read the instructions for your specific product. Lever handles vary enough that generic instructions miss critical steps.
During installation:
- Apply even pressure across the full adhesive surface. Don’t just press the center.
- For clamp-style products, tighten until snug but not so tight that you crack the housing.
- Test the lock yourself before considering it done. Try to open the door the way a toddler would: pull, push, shake, depress the lever partway.
After installation:
- Check every adhesive lock at the one-week mark and again at one month.
- Re-test after any temperature or humidity change. Adhesive bonds shift seasonally.
- If a lock ever feels loose, replace it immediately. A compromised lock is worse than no lock because it creates false confidence.
Doors to Check Before You’re Done
Doors You Might Be Forgetting
Parents usually start with the obvious rooms and stop. These are the doors I see overlooked most often.
Interior garage door. This is often the most dangerous door in the house. Power tools, chemicals, and the garage door mechanism itself are all hazards.
Basement door. Even if the basement is finished and used regularly, the stairs are a fall risk. About 93,000 children under 5 are treated in U.S. emergency rooms each year for stair-related injuries, per a Nationwide Children’s Hospital analysis of CPSC NEISS data.
Laundry room door. Front-load washers and dryers can trap a child who climbs inside. Many parents don’t realize the door to the room is as important as a lock on the appliance itself.
Home office. Medications, small batteries, and cords often live in home offices. If you work from home and keep a bag or drawer with any of these items, the door to that room matters.
Guest bathroom. Visitors leave toiletry bags with medications accessible. A lock on the guest bath door is a reasonable backup layer even if your primary bathroom is already secured.
When to Move On From Door Locks
Door hardware locks are a transitional tool. Most children develop the fine motor skills and problem-solving ability to defeat standard covers somewhere between 3 and 4 years old. At that point, the conversation shifts from hardware to rules and supervision.
But don’t remove locks prematurely. The right question isn’t "can my child open this?" It’s "does my child reliably understand why this door is off-limits?" Those are different thresholds. Keep the locks until you’re confident in the second one, not just the first.
For high-risk doors like the garage or a room with medications, consider keeping a lock in place even after your child has aged past it. The lock becomes a reminder for adults to close the door, not just a barrier for children.