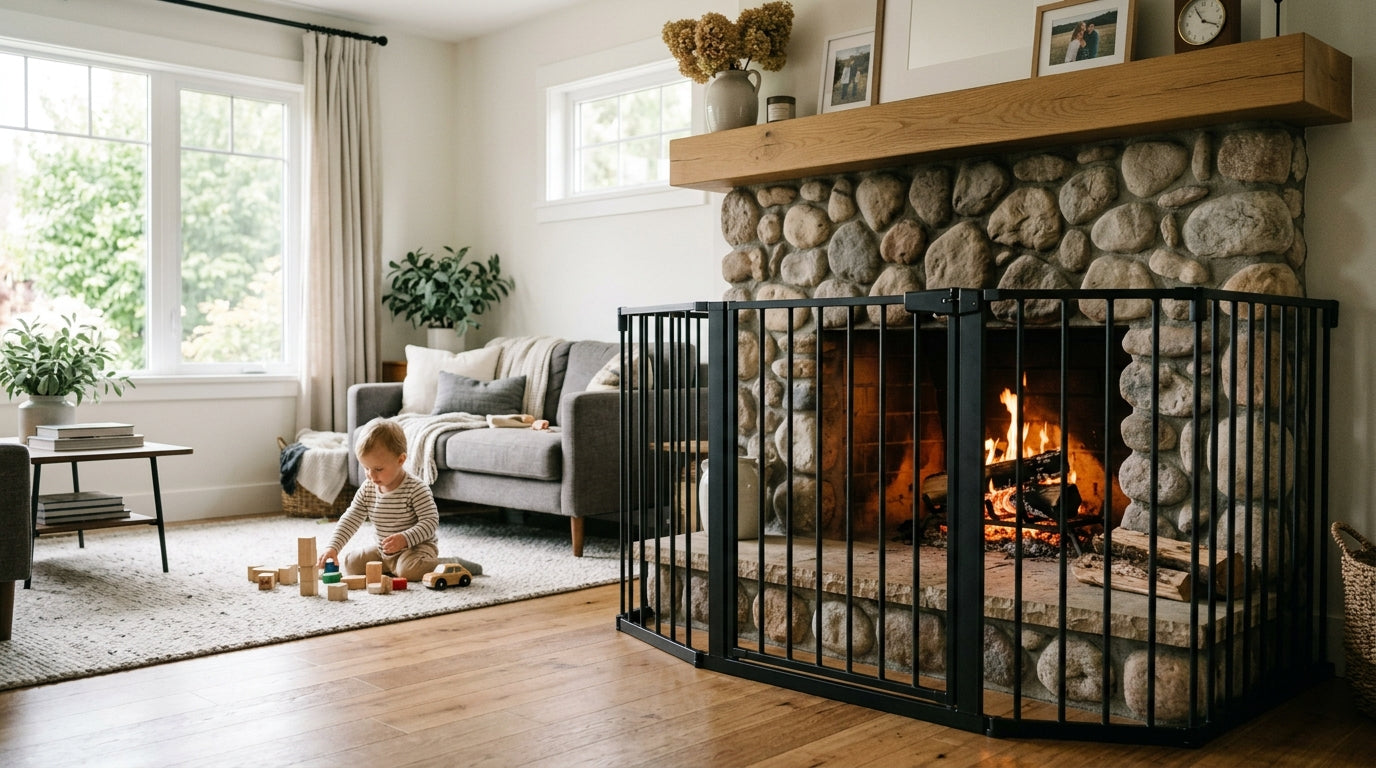
The bathroom is one of the most dangerous rooms in your house, and the toilet is a bigger hazard than most parents realize. According to the CPSC, drowning is the leading cause of unintentional injury death in children ages 1–4, and it can happen in as little as one inch of water. The toilet bowl holds significantly more than that.
A toilet lid lock is a small, inexpensive fix. Here is how to choose one, install it, and get it to work long-term.
Why the Toilet Matters More Than You Think
Most parents childproof the pool, the bathtub, the stairs. The toilet gets overlooked because it seems too small to be dangerous. It isn’t.
Toddlers are top-heavy. When a child leans over a toilet bowl to look at the water (and they all do), their center of gravity is already past the rim. A fall in is fast. The AAP recommends keeping bathroom doors closed and toilet lids down as baseline precautions for any home with a child under five. A lid lock adds a mechanical layer to that habit, because habits fail.
My younger daughter proved this to me when she was about 18 months old. I heard the doorbell, answered it, and came back to find her standing at the open toilet with both hands in the water. The door had been left ajar. The lid was up. The whole thing took maybe 90 seconds. I installed a toilet lid lock that afternoon.
Types of Toilet Lid Locks
There are three main designs on the market. Each has trade-offs.
Strap-style locks wrap a flexible strap around the bowl and lid, with a button or squeeze mechanism to release. These fit nearly any toilet shape and are easy to install, no tools required. The downside is that some adults find them fiddly to operate one-handed, especially in the middle of the night.
Latch-style locks mount to the side of the toilet with adhesive or hardware and use a lever or button to release the lid. These tend to feel more solid and are faster to operate once you know the motion. They are more sensitive to toilet shape and surface texture, and adhesive versions can fail on certain finishes.
Clamp-style locks grip the underside of the lid and the rim of the bowl. These require no adhesive and leave no marks, which matters if you rent. They are less common and the grip can loosen over time.
For most families, a latch-style lock with strong adhesive is the best balance of security and usability. But measure your toilet before you buy. Elongated and round bowls require different fits, and some locks are not compatible with one-piece toilets.


What to Look For Before You Buy
Holding strength. A toddler can apply surprising upward force on a toilet lid. Look for a lock rated to hold at least 50 lbs of lift force. Some manufacturers list this; if they don’t, that’s a signal.
Release mechanism. You will operate this lock dozens of times a week. Test the release motion before committing. A lock that requires two hands or a specific pinch angle will get defeated by your own frustration before your toddler defeats it by strength.
Adhesive quality. If the lock uses adhesive, check whether it includes a surface prep pad and what the cure time is. Most require 24–48 hours before the lock is load-bearing. Do not skip the cure time. In my experience, skipping the full cure causes the lock to pull away from the porcelain within a week.
Compatibility with your toilet. One-piece toilets, soft-close lids, and toilets with decorative trim around the hinge can all cause fit problems. Read the compatibility notes carefully, or buy from a retailer with a good return policy.
-
Clean the Surface
Use an alcohol wipe to clean the tank top and back of the lid. -
Do a Dry Fit
Place the lock without removing the adhesive backing. Close the lid, confirm the latch engages, and check that the release is accessible. -
Apply the Adhesive
Remove the backing, press the mounting base firmly onto the cleaned surface, and hold for 30–60 seconds. Repeat for any secondary mount point. -
Let It Cure
Allow 24–48 hours before the lock bears any load. Do not test holding strength during the cure window. -
Test It
Apply upward pressure to confirm the lock holds. Try the release from different angles to ensure every adult in the household can operate it reliably.
How to Install a Toilet Lid Lock
Installation varies by lock type, but the general process for the most common latch-style adhesive lock looks like this.


Getting the Whole Household on Board
A toilet lid lock only works if everyone uses it. That sounds obvious, but it’s where most childproofing fails in practice.
Walk every adult and older child in the house through the release mechanism before the lock goes live. This includes grandparents, babysitters, and anyone who visits regularly. A caregiver who can’t figure out the lock quickly will start leaving the lid up, which defeats the entire purpose.
With older kids, frame it as a responsibility. My older daughter, who was about four when her sister was born, understood "the lock is for keeping the baby safe" and was careful about re-latching it. She was not perfect, but she tried, and that mattered.
Post a small reminder near the toilet if you need to. It sounds excessive until the one time someone forgets.

- Toilet: drowning risk without lid lock
- Tub: slip and submersion hazard
- Under-sink cabinet: chemical storage risk
- Door: unsupervised entry without handle cover
- Floor: slip risk without non-slip mat
Maintaining the Lock Over Time
Adhesive bonds weaken with humidity, cleaning products, and time. Check your toilet lid lock every few weeks by applying gentle upward pressure to the lid. If there’s any give in the mount, the adhesive is starting to fail.
Most manufacturers include replacement adhesive strips, or sell them separately. Replace the adhesive at the first sign of loosening. Do not wait until the lock falls off.
Also watch for changes in your toddler’s problem-solving. My older daughter figured out the adhesive strap lock on our under-sink cabinet at 26 months by pulling the strap sideways instead of pressing the button. Toddlers are persistent and creative. If your child starts experimenting with the toilet lock, it’s time to evaluate whether the mechanism is still adequate or whether you need a more secure design.
Clean the lock mechanism regularly. Bathroom humidity and cleaning spray residue can gum up the release button or make the latch sticky. A quick wipe-down when you clean the toilet takes ten seconds and prevents the mechanism from degrading.
Ongoing Lock Maintenance Checklist
When to Remove the Lock
There is no universal age for removing a toilet lid lock. The relevant milestone is when your child can reliably close the lid themselves and understands why it matters, not just when they’re physically capable of operating the release.
For most children, that’s somewhere between 3 and 4 years old, but it varies. If you have a younger sibling in the house, keep the lock in place until the youngest child is past the risk window, regardless of whether your older child has aged out of it.
Transition gradually. Remove the lock, watch for a few weeks, and reinstall it if the lid is consistently being left up. There’s no shame in keeping it longer than you expected.
The Bigger Picture on Bathroom Safety
A toilet lid lock is one piece of a larger bathroom safety setup. The AAP recommends keeping the bathroom door closed at all times when not in use, using a door handle cover or door alarm to prevent unsupervised entry, and never leaving a child under five alone in the bathroom, even briefly.
Non-slip mats inside and outside the tub, a water temperature set to 120°F (49°C) or below at the water heater, and cabinet locks on anything stored under the sink round out the basics. The toilet lock addresses one specific hazard. The door handle cover addresses another. Neither is sufficient alone.
Install the lock today. Set a reminder to check the adhesive in three weeks. And keep the bathroom door closed, every time, as the first line of defense. The lock is the backup.